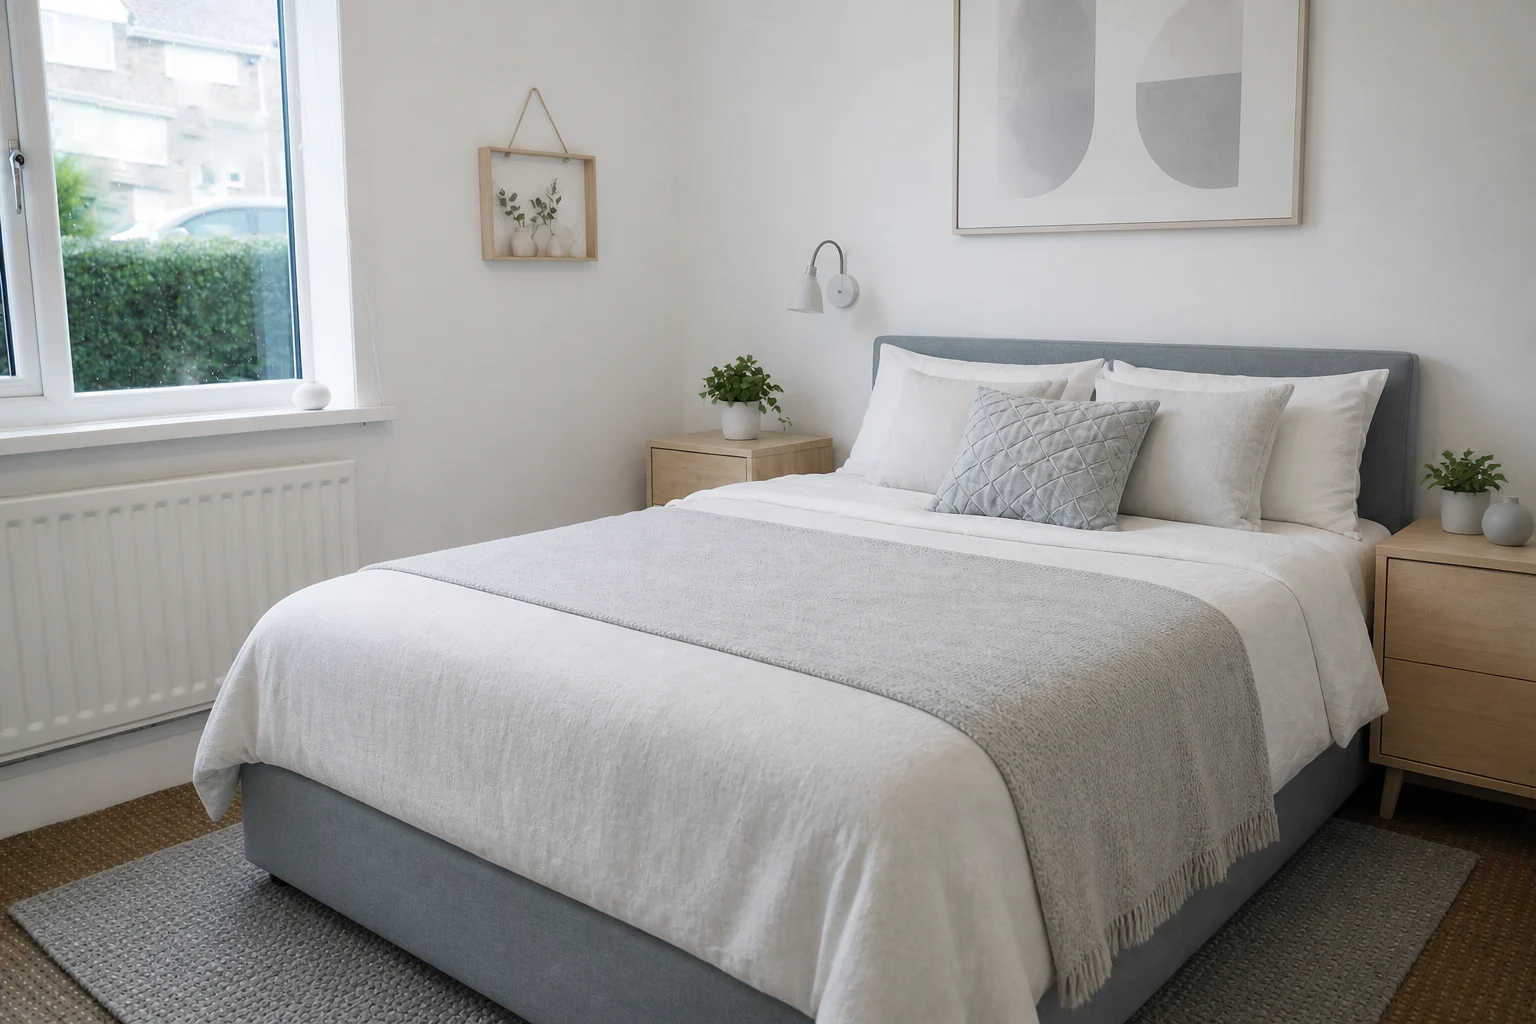
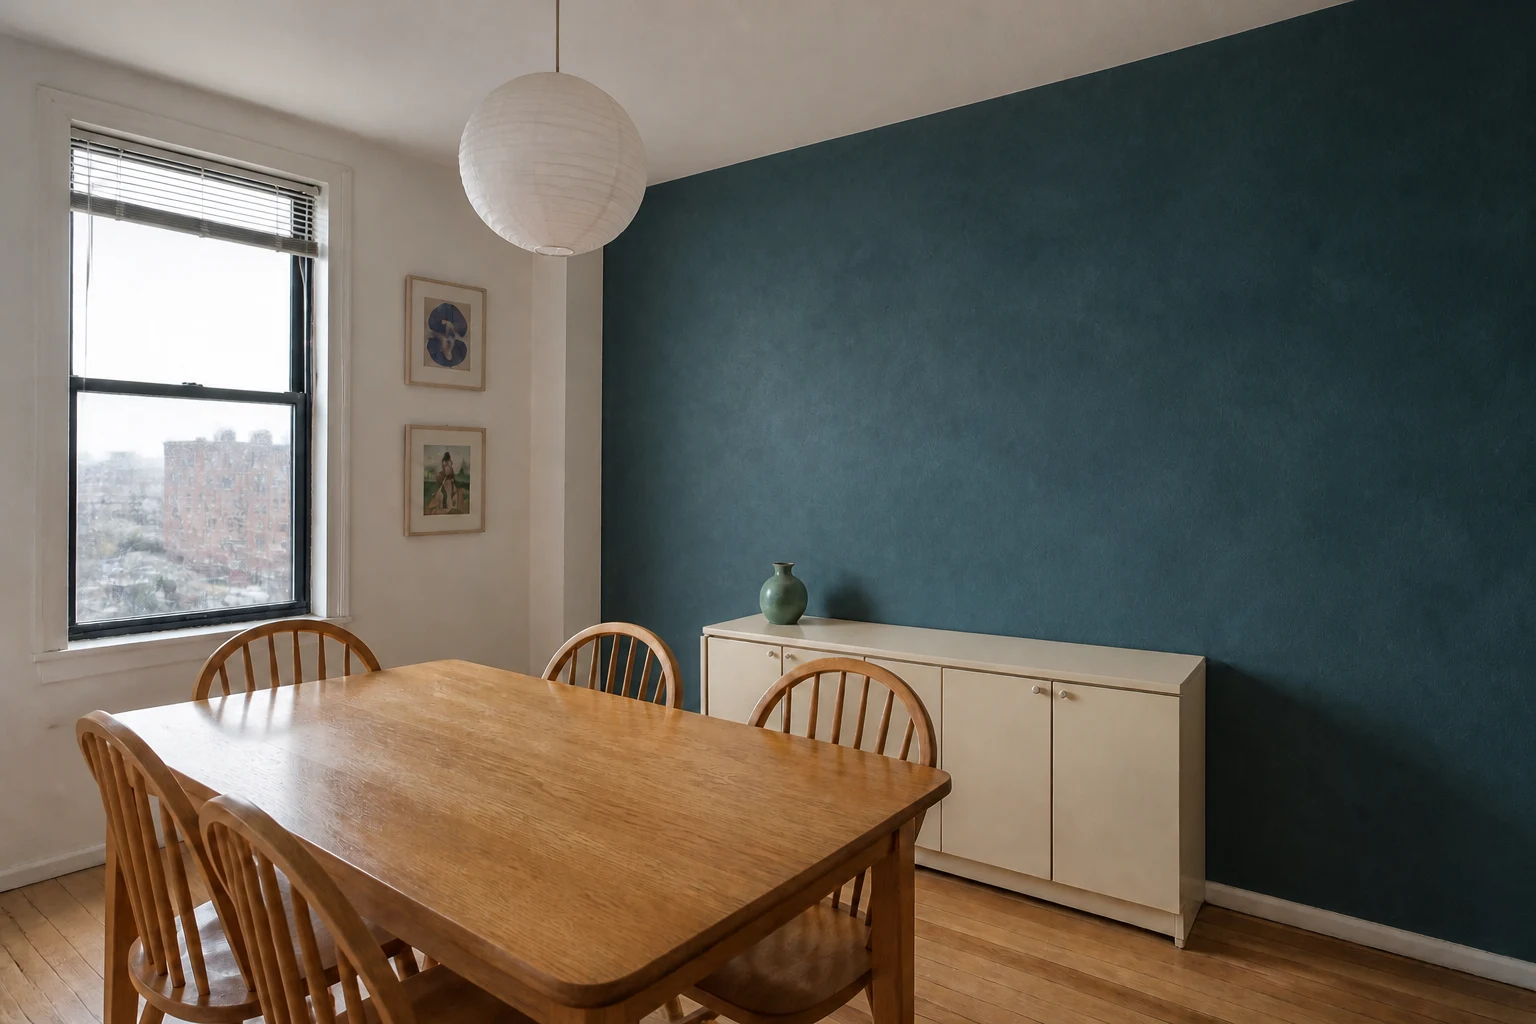
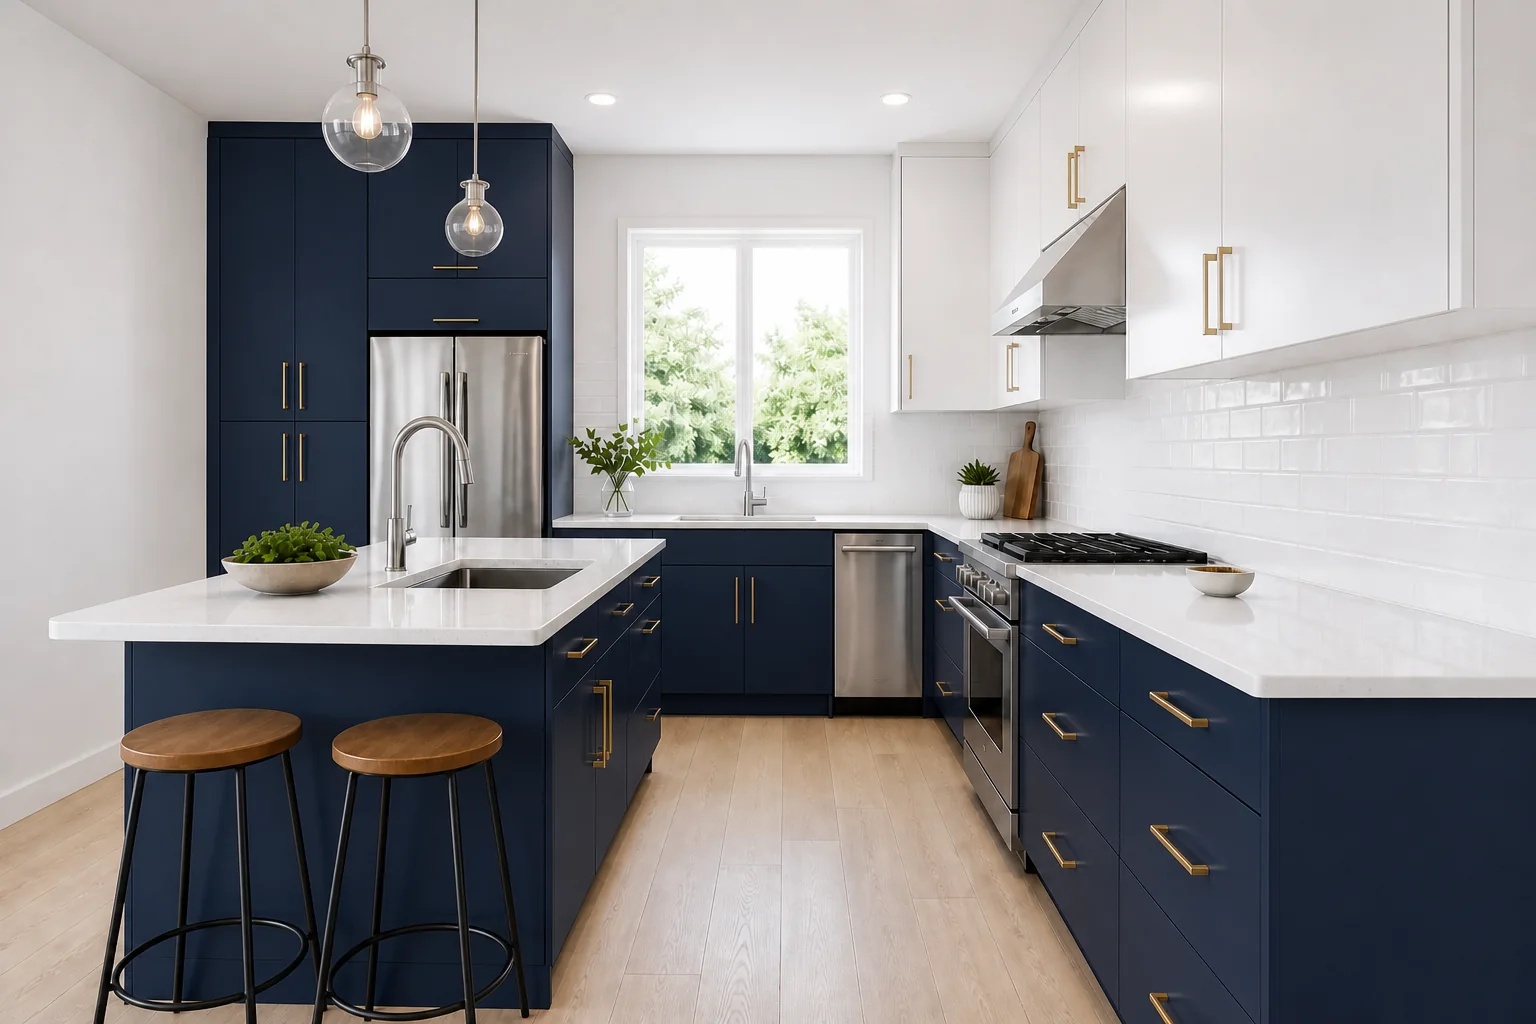
How to Use AI for Home Renovation
Use AI for home renovation to visualize rooms, compare styles, test layouts, organize a budget, and create a clearer brief before work begins.
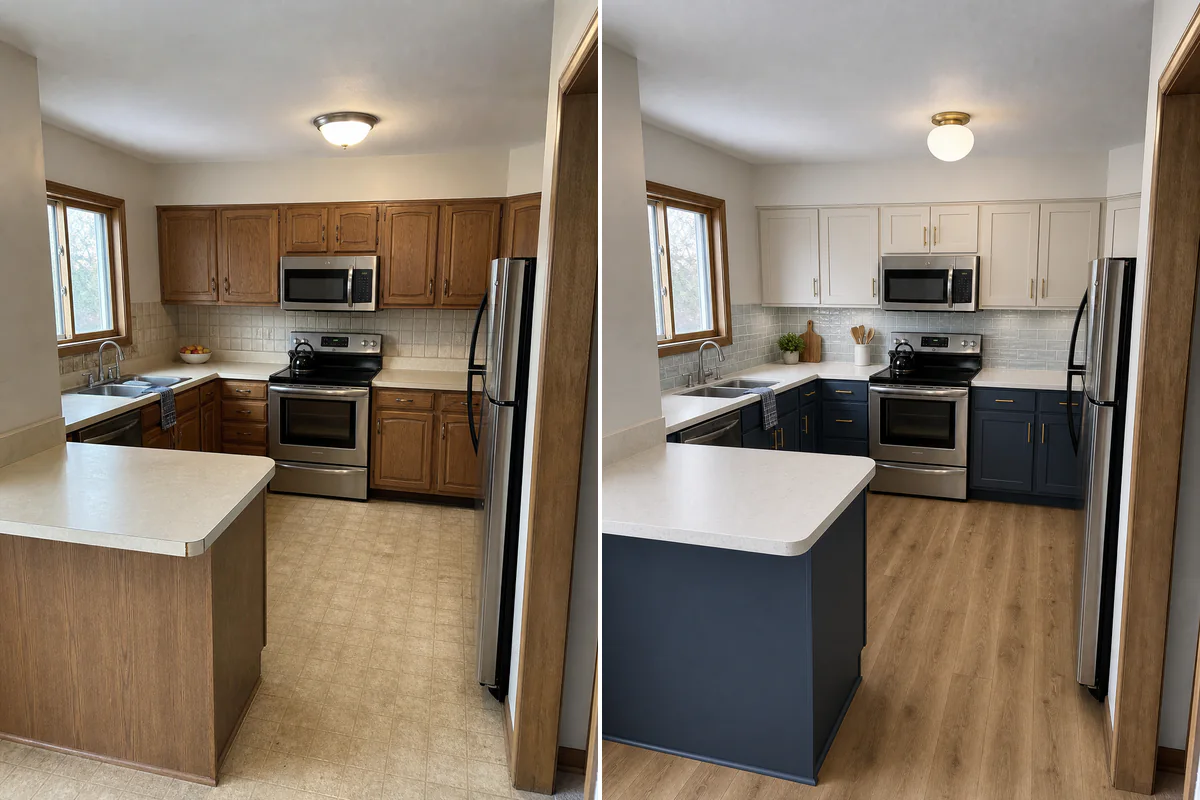
AI can help you compare room styles and finishes, explore layouts, and prepare a renovation brief. Start with a clear photo and real measurements, choose one change to explore, then use your favorite concept to shortlist materials and discuss the work with a designer or contractor.
Yes. AI can make the early phase of a home renovation faster and easier to understand. It can turn a room photo into visual concepts, compare styles and finishes, explore furniture layouts, and organize the questions, costs, and decisions that need attention before work begins.
Its strongest role is visual planning, not technical approval. Use AI to decide what to compare and what to investigate. Use real measurements, product specifications, local quotes, and qualified professionals to decide what can actually be built.
What can AI do for a home renovation?
AI is most useful while changing direction is still inexpensive. It can help with several parts of an early renovation workflow:
| Renovation task | What AI can help produce | What still needs verification |
|---|---|---|
Visual direction | Alternative room styles, colors, finishes, furniture, and lighting moods | Whether the proposal suits the real space, budget, and construction scope |
Focused design changes | A preview of a different wall color, cabinet finish, countertop, floor tone, or fixture | Real samples, product availability, dimensions, installation details, and price |
Layout exploration | Furniture arrangements and early floor-plan concepts | Measured dimensions, circulation, clearances, door swings, and fixed services |
Budget preparation | A checklist of cost categories, priorities, and quote fields | Current local labor, materials, delivery, tax, permit, and contingency costs |
Project communication | A visual concept and organized renovation brief | Final drawings, specifications, contracts, approvals, and construction decisions |
Bring the preferred concept, your measurements, and a list of priorities to your designer or contractor so the discussion can focus on specific materials and changes.
How to use AI for home renovation in seven steps
Step 1: define the renovation question
Do not begin with a style prompt. Begin with the problem the room needs to solve.
Write down:
- what must stay;
- what can change;
- the room's functional problems;
- the people who use the space;
- your highest-priority improvement; and
- the decisions you are not ready to make.
For example, “make this kitchen modern” is vague. “Make the kitchen feel brighter, keep the existing appliance locations, add more closed storage, and compare light-oak versus painted cabinetry” creates a more useful design test.
This short scope also stops attractive AI images from pulling the project away from its actual goals.
If your sofa, bed, or dining set must stay, use the guide to redesigning around existing furniture for focused prompts and a check of what changed in the result.
Step 2: take clear photos and record real measurements
Use a level, well-lit photo that shows the main walls, floor, windows, doors, and fixed features. Daylight or neutral lighting usually makes colors and room geometry easier to read. Keep additional angles and close-up photos for reference, even when the AI tool uses only one main image.
Record measurements separately. At minimum, note:
- wall lengths and ceiling height;
- door and window positions;
- built-ins, radiators, columns, stairs, and fireplaces;
- plumbing, appliance, outlet, and lighting locations that may affect the plan; and
- dimensions of any furniture or equipment you intend to keep.
A photograph provides visual context, not guaranteed scale. Never measure a wall, opening, cabinet, or product from an AI image.

If loose clutter hides the room, keep the untouched original and create a secondary planning image with the AI Room Cleaner. Use the cleaned version to judge the space more easily, but return to the original photos when documenting existing conditions.
Step 3: generate several renovation directions
Upload the main photo to the AI interior design generator. Select the room type and a broad design direction, then use the details field to state what should change and what should remain recognizable.
A reliable prompt structure is:
Redesign this [room] for [goal]. Keep [fixed elements]. Change [specific elements]. Use [style, colors, and materials]. Avoid [unwanted features]. Preserve [doors, windows, fireplace, camera angle, or other important context].
For example:
Redesign this living room in a warm modern style. Keep the windows, fireplace, oak floor, and current camera angle. Use an off-white plaster wall, a low neutral sofa, one rust-colored chair, and restrained evening lighting. Avoid glossy finishes and oversized furniture.
Create a few deliberately different options rather than repeatedly generating minor variations of the same idea. Label them by decision, not just by style—for example, “light and calm,” “warmer and more textured,” and “darker with stronger contrast.”
The first result is a hypothesis. Your task is to identify which direction deserves more precise testing.
For a kitchen-specific walkthrough, redesign your kitchen with AI compares three finish directions using one source image and shows how to turn the favorite into a practical brief.
Step 4: compare styles and materials one variable at a time
Style labels are useful shortcuts, but they are not complete specifications. “Modern” might mean pale minimalism, warm wood and stone, or a high-contrast monochrome room.
For a controlled comparison:
- reuse the same source photo;
- keep the same architectural features;
- change only the style or palette;
- save the strongest result from each round; and
- write down the specific elements you like.
If you already have an inspiration image, AI Style Transfer can use it as a visual reference for materials, colors, furniture language, and mood. Once the overall direction is chosen, use the AI Image Editor for a focused request such as changing one wall finish, cabinet color, countertop, or visible fixture without intentionally redesigning the whole room.
The AI Relight tool can compare daylight, evening, or other lighting moods. Treat this as an atmosphere preview, not as a lighting calculation or electrical plan.
Step 5: test the layout with measured dimensions
A convincing room image can still conceal a poor layout. Before buying furniture or approving cabinetry, translate the idea into a measured 2D plan.
Already have a drawing? See how to upload a floor plan and visualize it with AI for input preparation, view selection, and the difference between a furnished concept image and an editable layout.
Use the floor planner to draw the room, add doors and windows, enter dimensions, and place furniture or fixtures. Then check:
- Can doors, drawers, cabinets, and appliances open fully?
- Is there a clear route between entrances and important activity areas?
- Does the layout account for fixed plumbing, electrical, heating, and ventilation locations?
- Do retained furniture and proposed products fit by their published dimensions?
- Are any awkward corners, conflicts, or inaccessible areas hidden by the perspective view?
If the project changes whole-room relationships, an AI floor plan generator can help explore early adjacency and circulation concepts from a brief. Rebuild or refine the preferred idea with verified measurements before treating it as a planning document.
Think of the render and floor plan as two different views of one decision: the render communicates appearance; the measured plan checks whether the arrangement can work.
Step 6: use AI to organize the budget, not set the price
AI can help identify budget categories and create a comparison sheet, but it cannot see hidden site conditions or know every current local cost.
A useful request is:
Create a home renovation budget checklist for this project. Separate demolition, preparation, electrical, plumbing, cabinetry, surfaces, fixtures, labor, permits, delivery, waste removal, and contingency. Do not invent prices; leave fields for current product prices and written local quotes.
Then divide the budget into decision layers:
| Budget layer | What belongs here | How to verify it |
|---|---|---|
Must-have | Safety, repair, code, waterproofing, essential services, and core function | Inspection, measured scope, permit requirements, and written quotes |
Design priority | The few visible choices that define the result | Real samples, current product prices, lead times, and installation costs |
Optional | Upgrades that can be removed without breaking the project | Price separately before approval |
Contingency | Money reserved for uncertainty and scope discoveries | Set after the real scope and project risks have been reviewed |
Replace every generated number with a current source. Keep materials, labor, delivery, permits, tax, and contingency visible as separate lines so a low estimate cannot hide missing categories.
Step 7: turn the selected concept into a renovation brief
A useful renovation brief should let another person understand both the desired outcome and the unresolved questions.
Include:
- original room photos;
- the selected AI image labeled concept—not a measured drawing;
- the measured floor plan;
- a list of elements to keep, remove, repair, and change;
- material references or real product links where available;
- dimensions and finish requirements for major items;
- priorities, exclusions, and target budget range; and
- technical questions that still need professional review.
If the AI image contains a sofa, tile, light, cabinet, or fitting that you cannot identify, describe the qualities you want instead of treating the generated object as a purchasable product. Note its approximate form, verified target dimensions, color, finish, performance needs, and price range, then source a real alternative.
This is where an AI concept becomes valuable: not as construction instructions, but as a shared visual reference that makes quotes and professional conversations more specific.
Before demolition: verify structure, utilities, moisture and waterproofing, ventilation, permits, building-code requirements, and any suspected hazardous materials with the appropriate local authority and qualified professional. Do not disturb suspect materials or approve technical work from an image or chatbot answer.
Common AI renovation mistakes
| Mistake | Better approach |
|---|---|
Treating the first attractive image as the answer | Compare several distinct directions, then refine the strongest one |
Changing layout, style, lighting, materials, and architecture in one prompt | Change one decision at a time so you can see what improved the proposal |
Estimating dimensions from a generated image | Measure the room and check every real product specification |
Assuming furniture and finishes in the image are purchasable | Use them as visual references, then source real products |
Sending a contractor only the AI image | Add original photos, a measured plan, scope notes, priorities, and unresolved questions |
Accepting an AI cost estimate as a quote | Replace generated numbers with current prices and written local quotes |
Frequently asked questions about AI home renovation
Can AI design a home renovation from a photo?
Yes, AI can use a room photo to create visual renovation concepts for style, furniture, colors, visible materials, and lighting. The image should be treated as inspiration and communication—not proof of dimensions, structural feasibility, or construction compliance.
Can AI create a floor plan for an existing home?
AI can generate early floor-plan ideas, and a digital floor planner can help you draw and compare measured layouts. For an existing property, start with verified dimensions and fixed conditions. A generated plan is not a survey or construction drawing.
Can AI estimate home renovation costs?
AI can organize the budget, identify commonly missed categories, and compare scenarios. It cannot provide a dependable final price without current local labor rates, real product selections, site conditions, permit costs, and written quotes.
How accurate are AI home renovation designs?
They can be useful for visual direction, but visual realism is not the same as dimensional or technical accuracy. Review every output for changed openings, distorted scale, invented products, impractical details, and conflicts with the measured plan.
Can AI replace an interior designer, architect, or contractor?
No. It can help you explore options and communicate preferences faster. Professional involvement becomes especially important when the project affects structure, building services, waterproofing, fire safety, accessibility, permits, or construction documents.
What type of AI tool is best for home renovation?
Use a photo-based interior design tool for overall concepts, a focused image editor for individual finishes or objects, a floor planner for scale and layout, and a budget sheet populated with real quotes. ImagineMyHouse connects the visual design, targeted editing, and floor-planning stages in one renovation workflow.
Start with one room and one decision
Choose the room creating the most uncertainty, take one clear photo, and generate a few genuinely different directions with ImagineMyHouse. Select the strongest concept, test its visible details, and move it into a measured floor plan before discussing cost or construction.
Bring the original photo, your chosen concept, and a short list of changes to the next design conversation. That gives everyone a clearer starting point for samples, quotes, and plans.
Ready to visualize your own room?
Turn your room photo into high-end interior redesign concepts in seconds.