Hand-drawn and digital sketches
Upload perspective sketches, iPad and Procreate drawings, elevations, or room linework as JPG, PNG, or WebP. Export PDF and CAD drawings to an image first.
Upload a hand-drawn or digital sketch of an interior, facade, or building extension. Explore realistic materials, daylight, glass, and atmosphere with your drawing as the guide for the viewpoint and design direction.
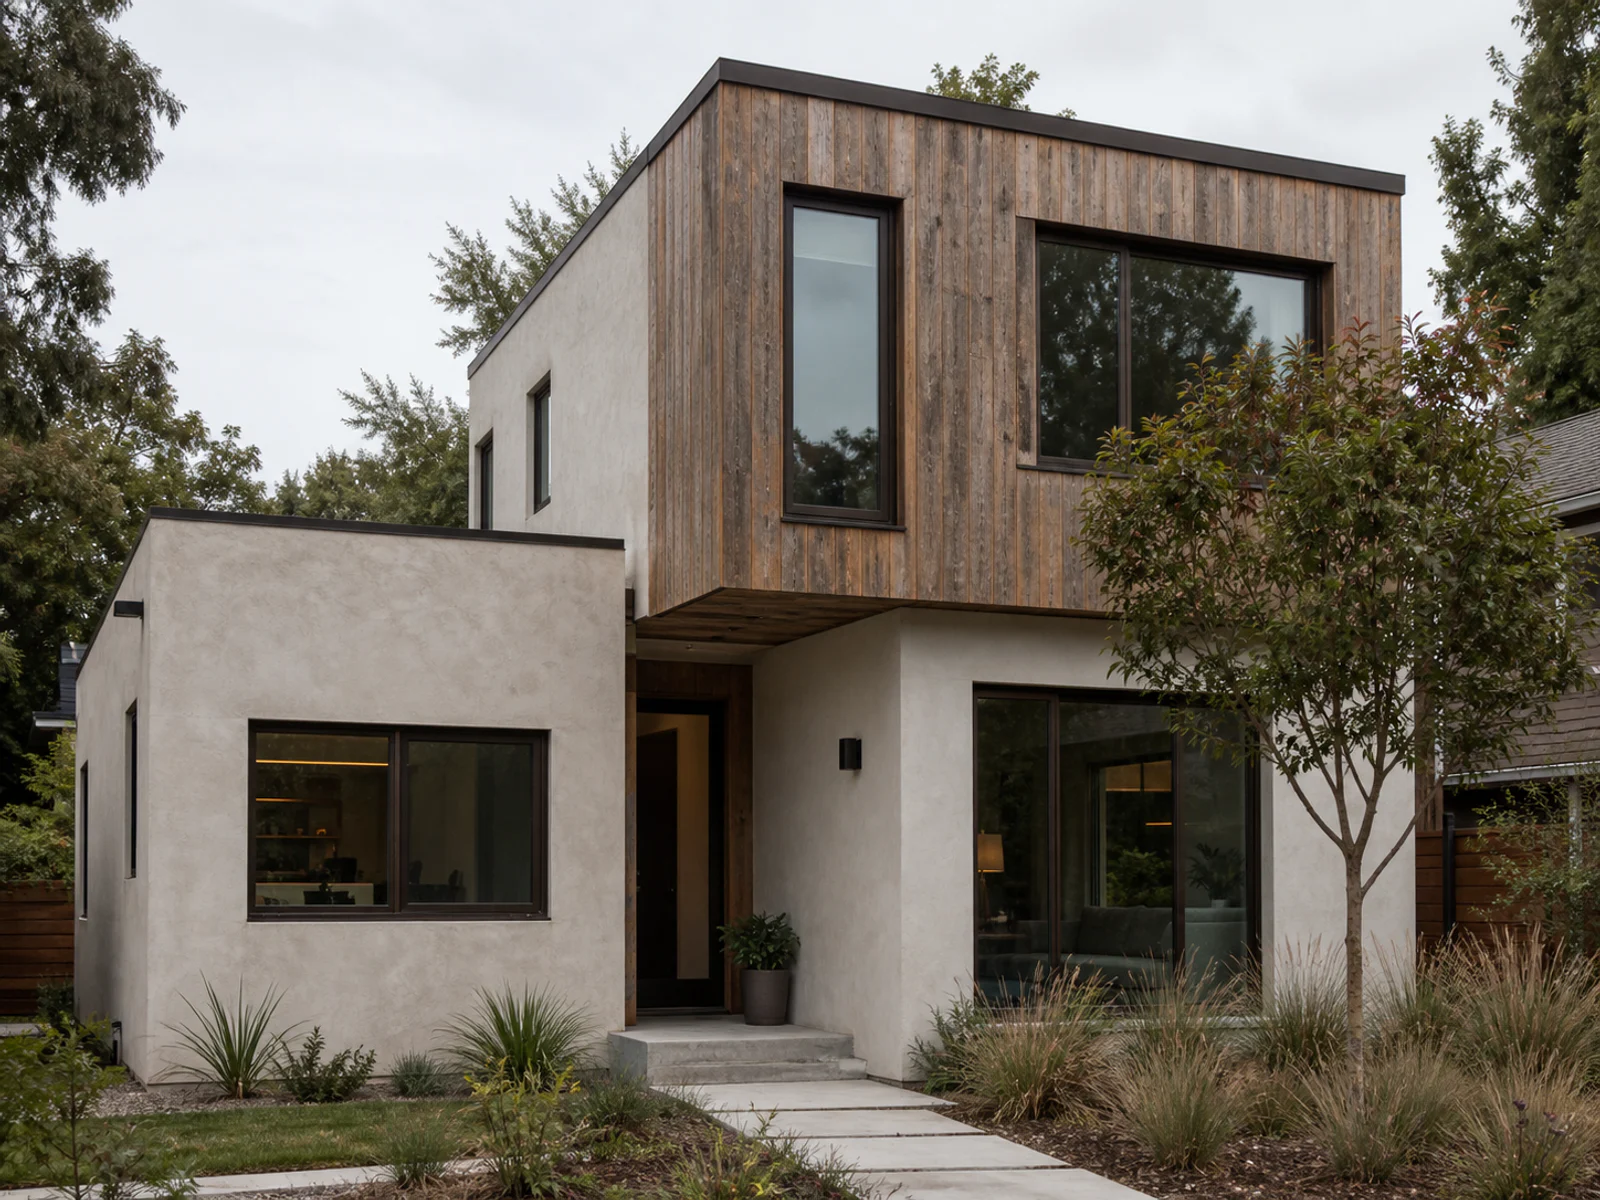
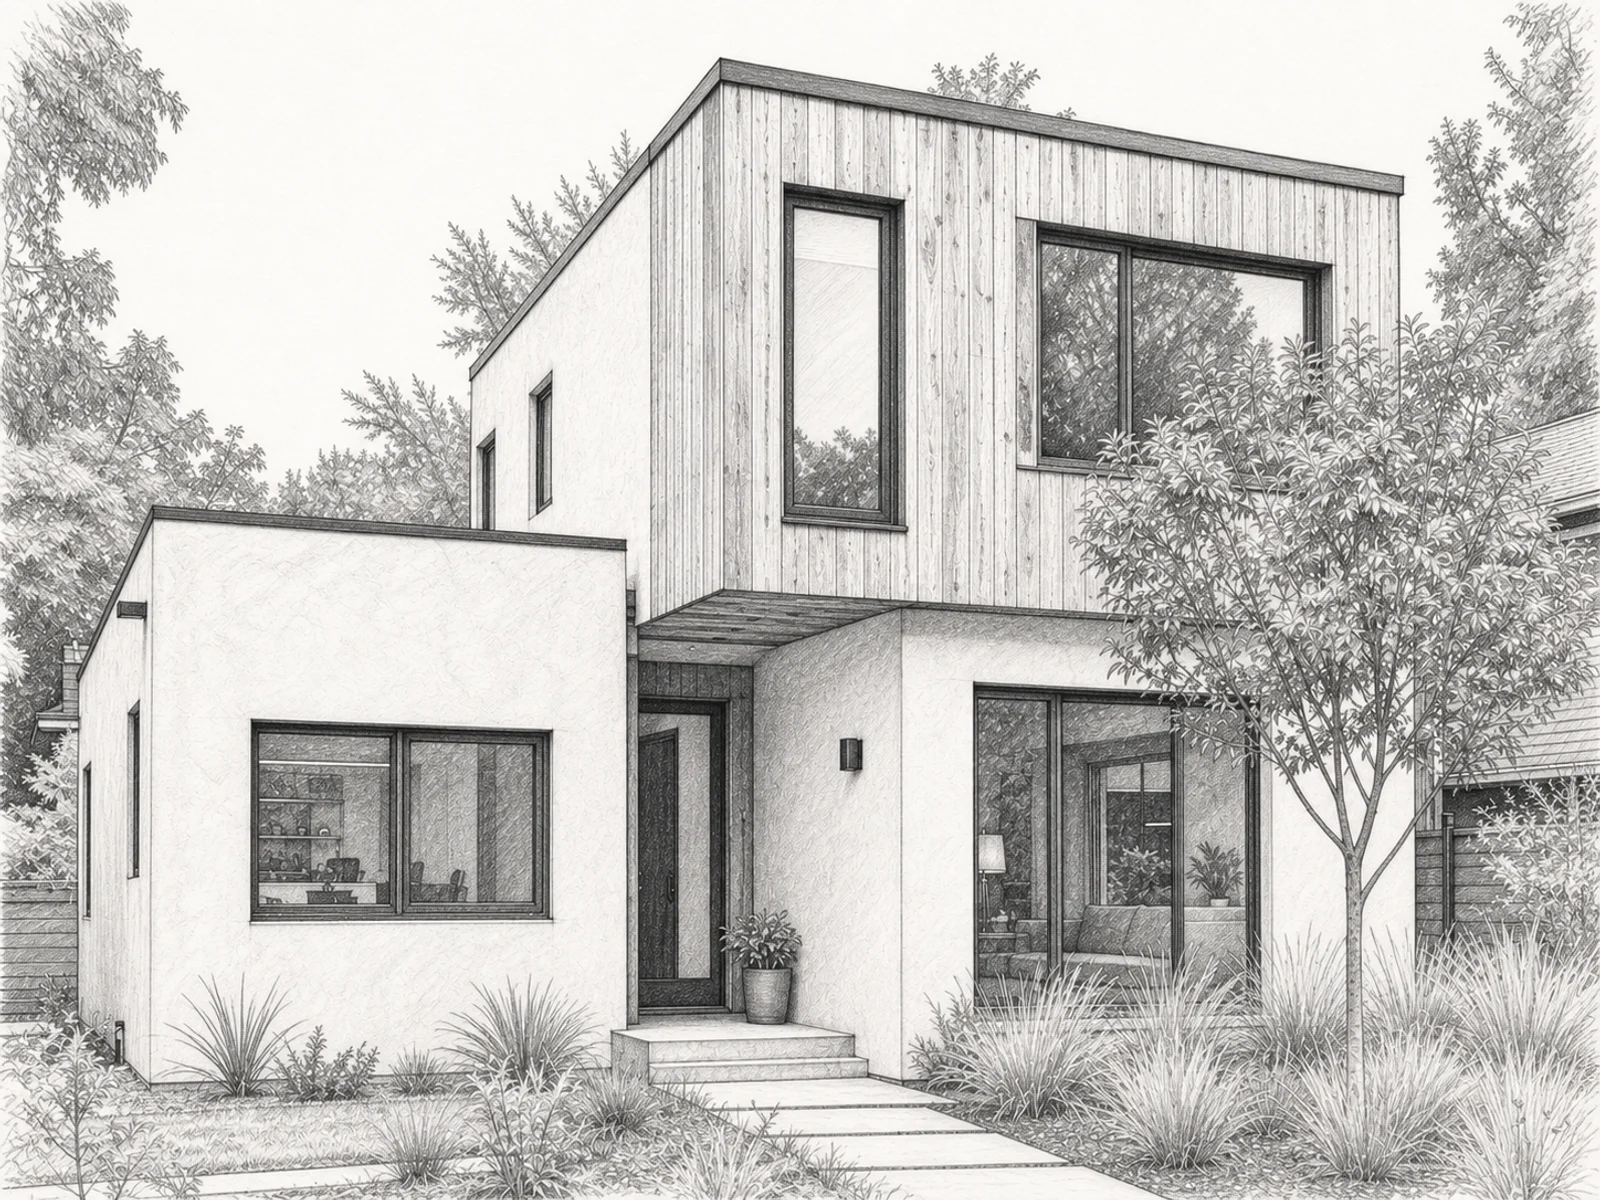
Move from early linework to a material and lighting concept, using the source drawing to review proportions and important details.
Upload perspective sketches, iPad and Procreate drawings, elevations, or room linework as JPG, PNG, or WebP. Export PDF and CAD drawings to an image first.
Guide the camera perspective, massing, rooflines, and openings with clear linework. Review those features against the source after each generation.
Easily customize finishes, lighting mood, weather, and time of day, or upload a style reference to guide the aesthetic direction.
AI-generated illustrations show how exterior, interior, and extension sketches can be visualized with materials and lighting.
Use the roof silhouette, window groupings, and entrance as reference points while exploring wood, stucco, and daylight.
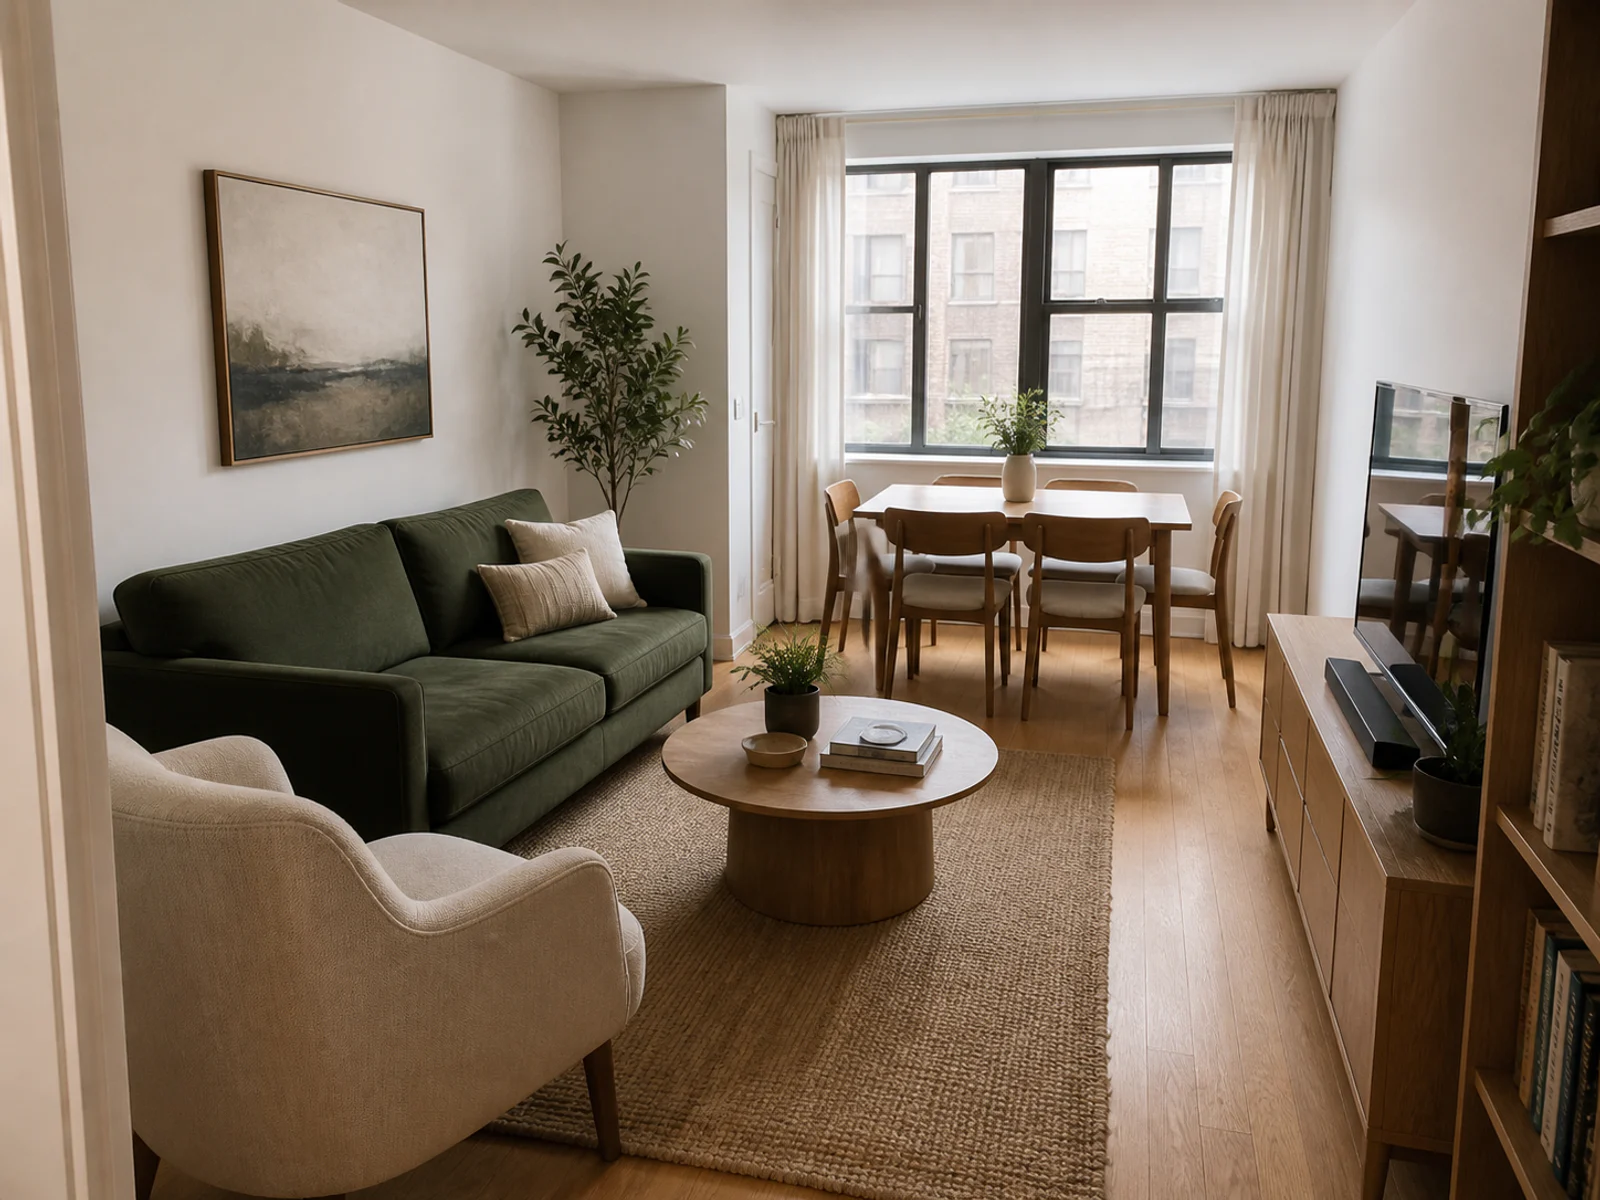
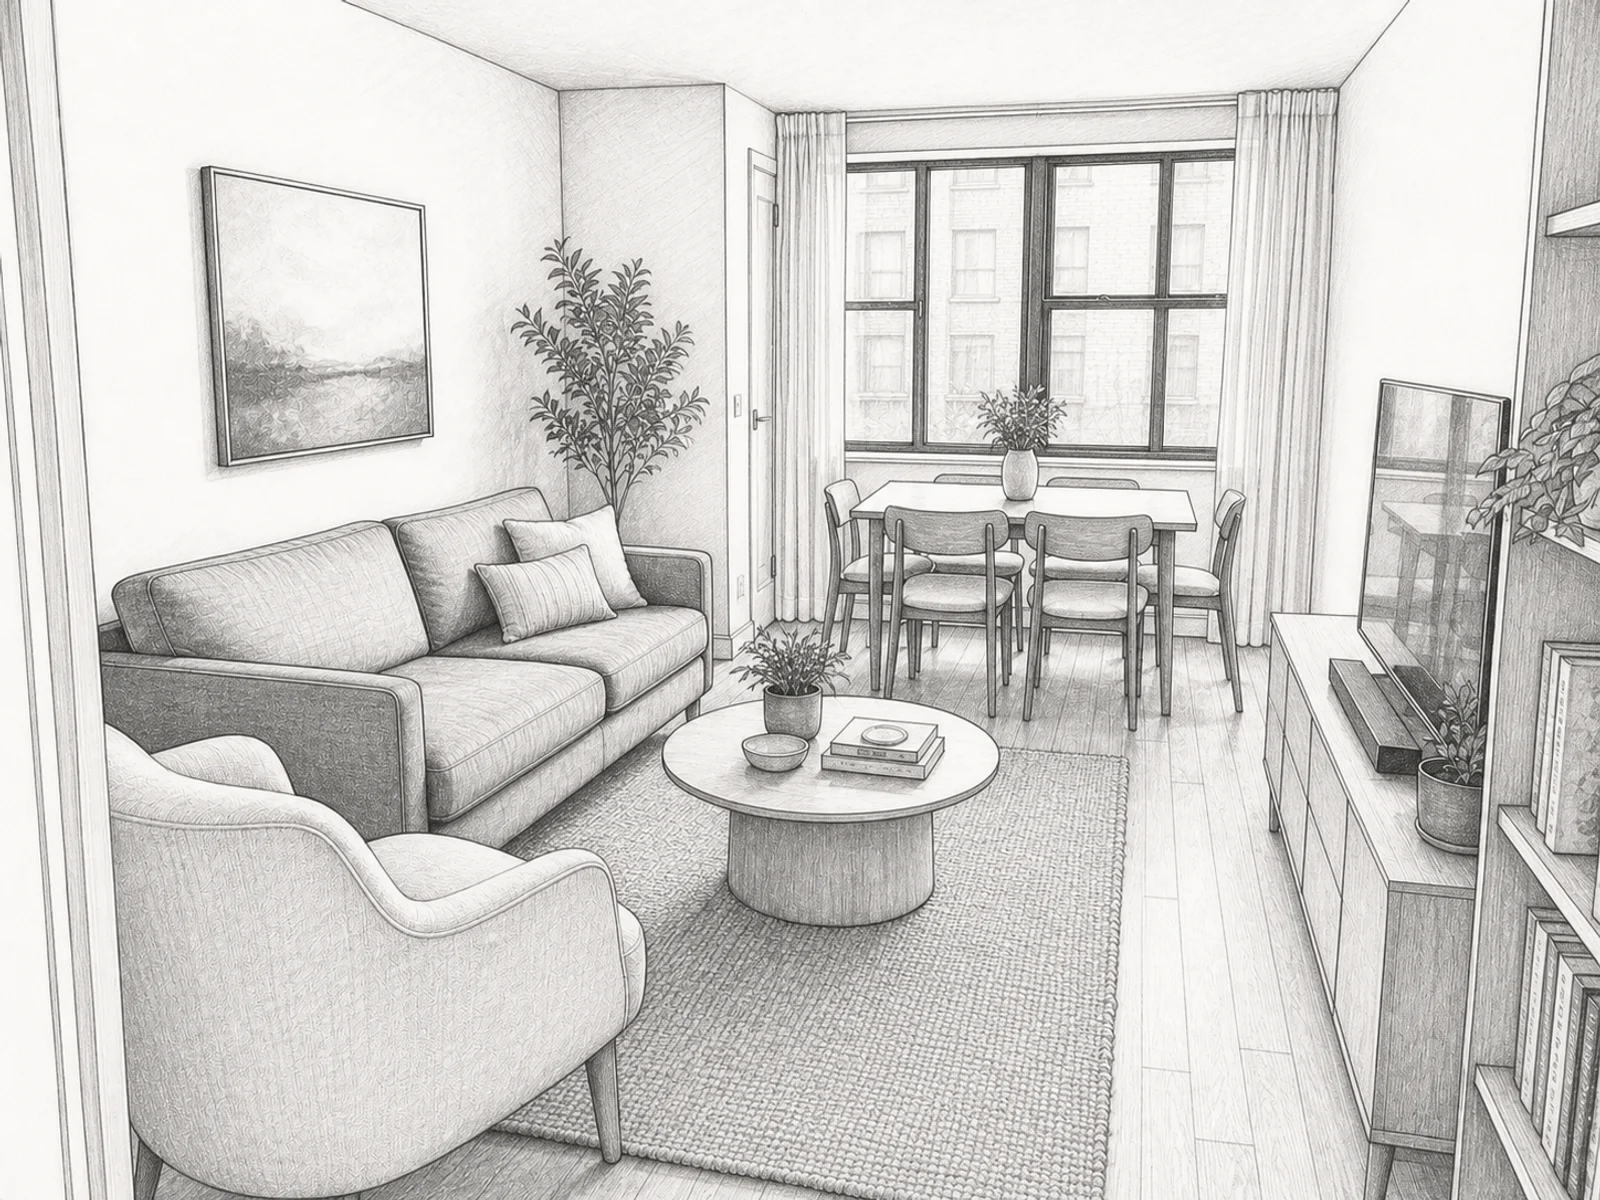
Explore upholstery, flooring, and daylight around the living and dining arrangement shown in the sketch.
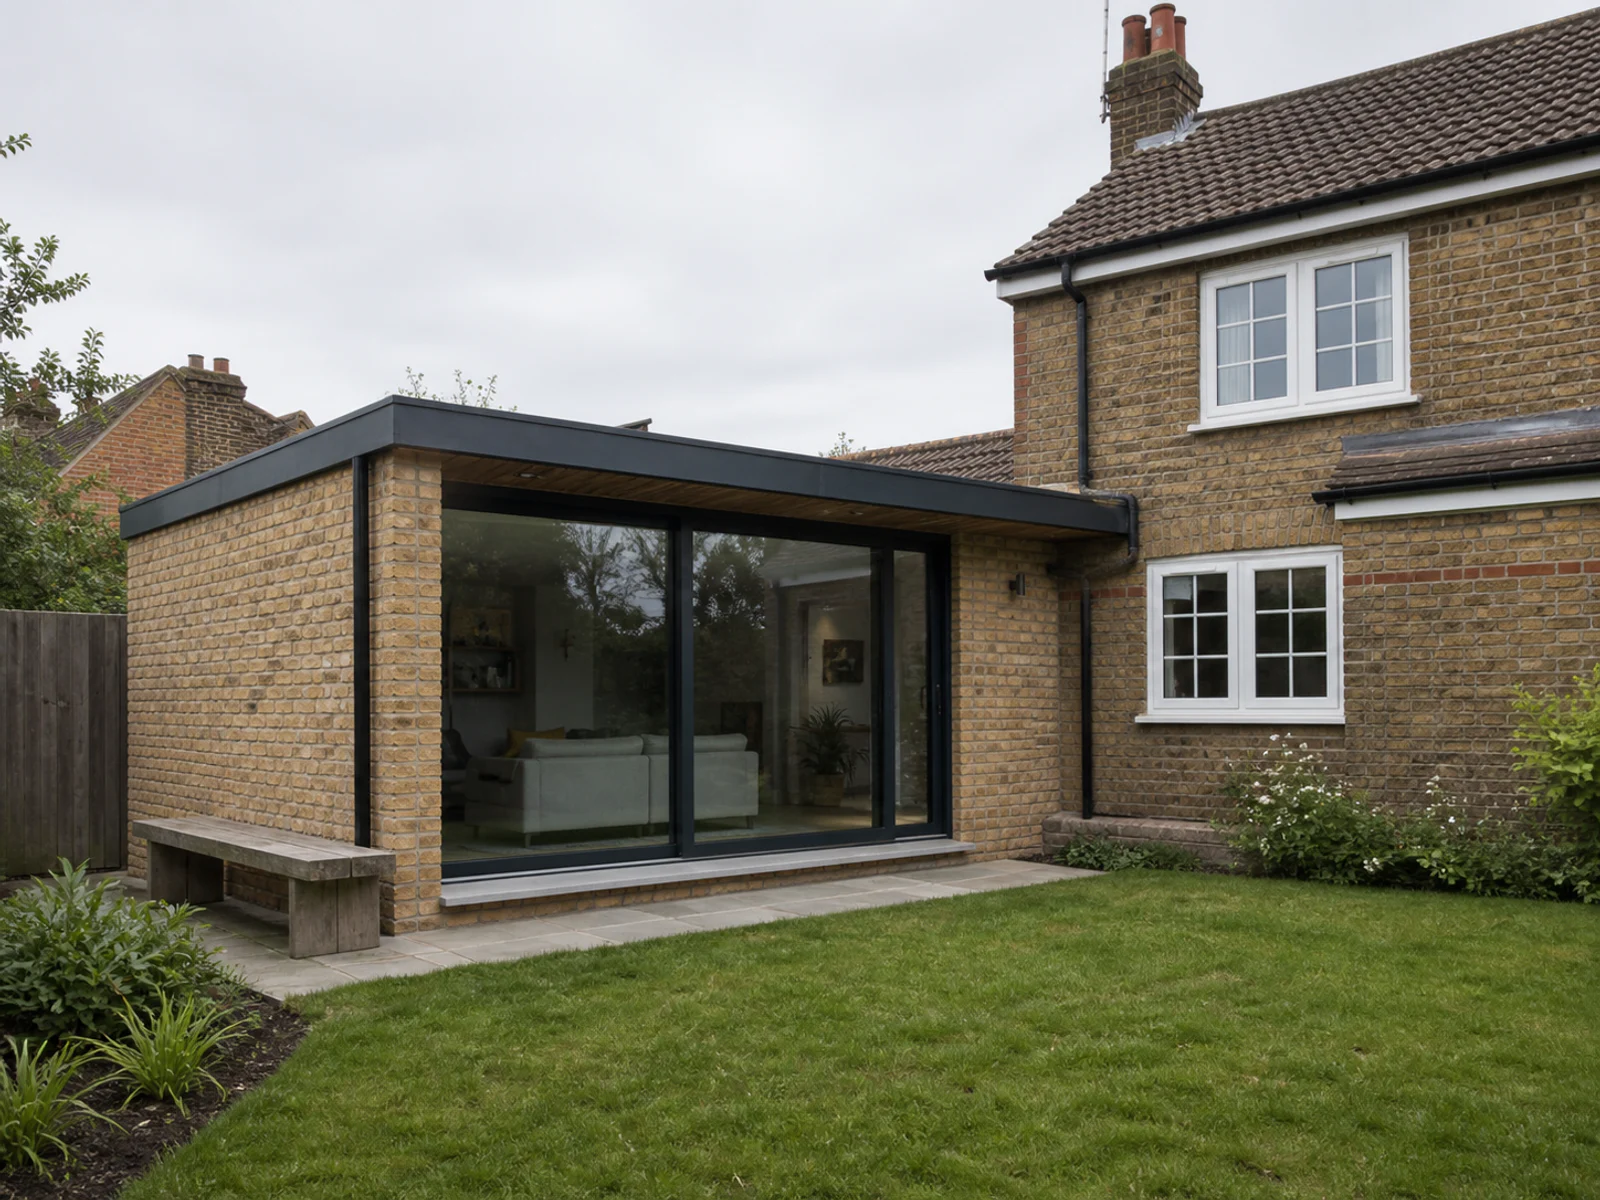
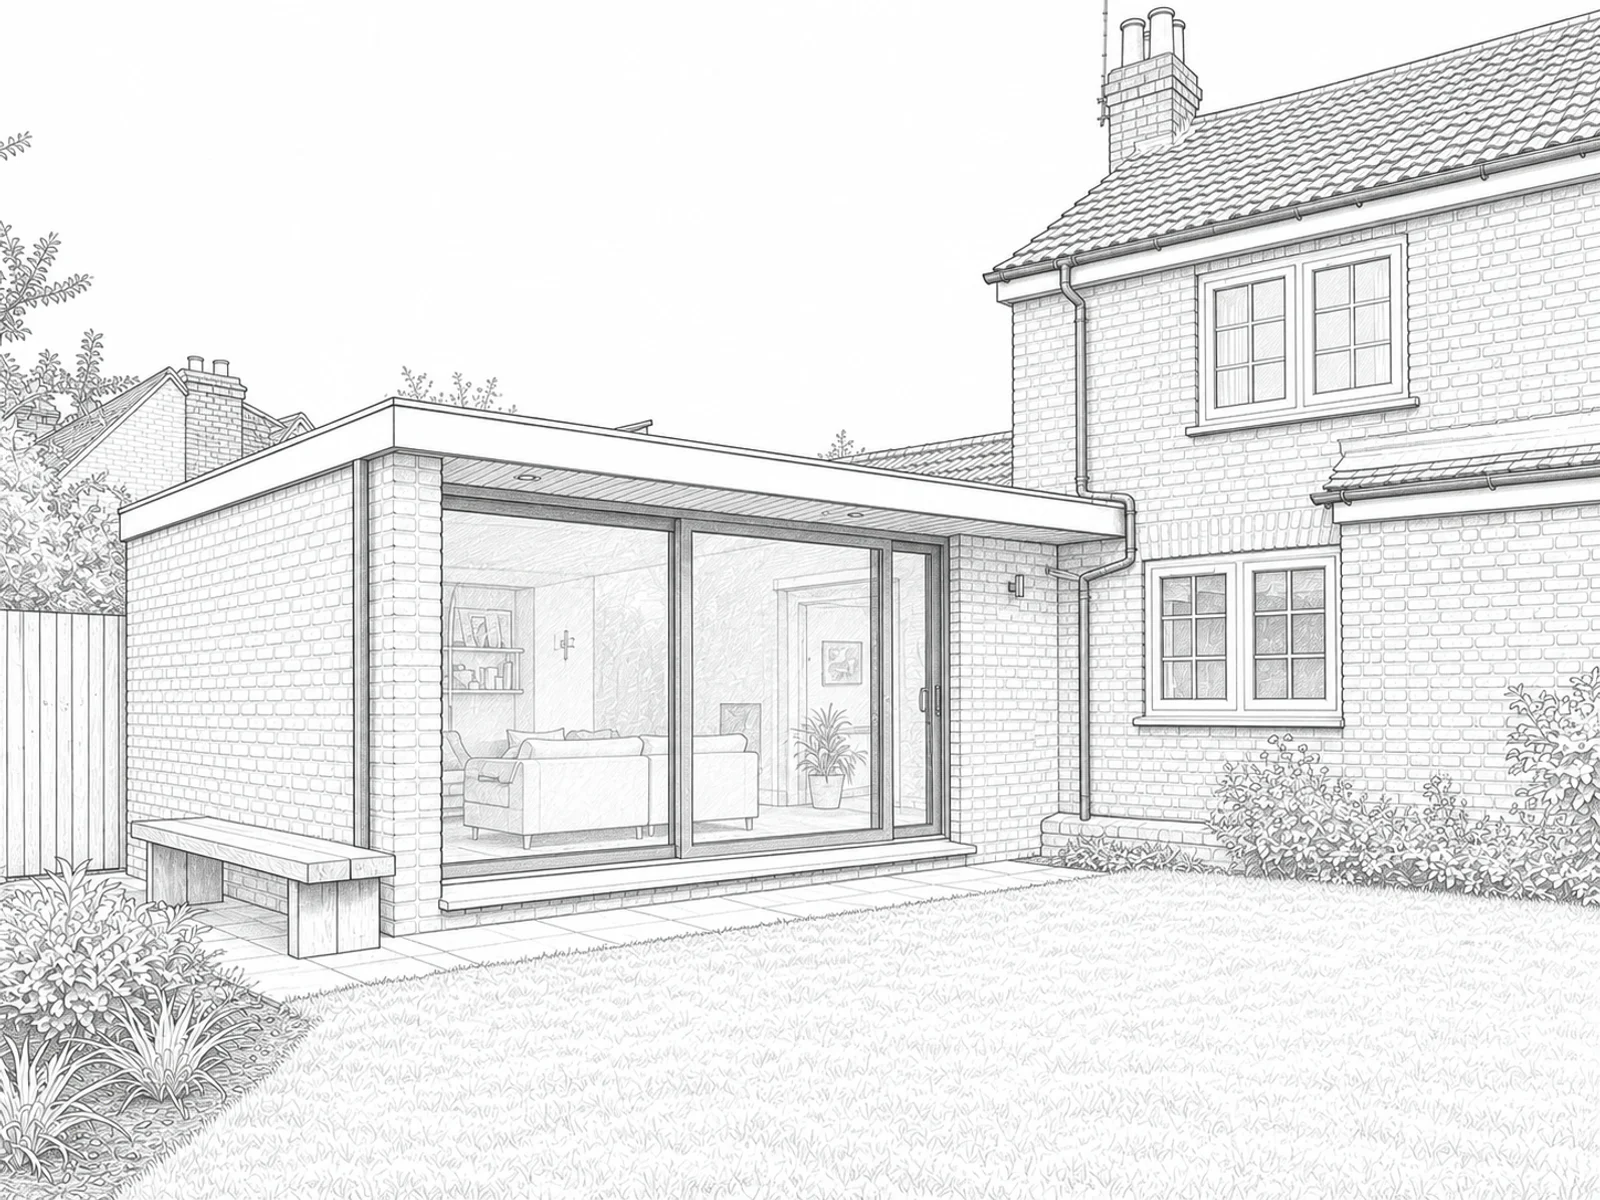
Compare brick tones and glazing-frame finishes to find a look that works with the extension.
Upload a JPG, PNG, or WebP scan, photo, or digital export. Crop to one drawing and make the main outlines, windows, and other openings easy to read.
In Material, choose a treatment. Use Environment Preset for lighting and atmosphere, then add the specific finishes and features to keep in Details.
Start with Basic quality and one image. Check the credit cost on Generate, then create your render. Compare it with your sketch. For another finish or lighting option, start again from the original drawing.
Adjust the finishes to suit your drawing, then paste the prompt into Details.
Render this house sketch with off-white stucco, pale wood at the entrance, dark window frames, and soft daylight. Follow the drawn viewpoint, roofline, window openings, and entrance position. Keep the landscaping simple.
Render this room with light oak flooring, off-white walls, linen upholstery, and daylight from the drawn windows. Follow the existing viewpoint, room boundaries, window positions, and furniture arrangement.
Compare materials and lighting while your design is still taking shape.
Create photorealistic concept visuals directly from drawings before committing hours to detailed 3D modeling and lighting setups.
Help clients and collaborators visualize early spatial ideas immediately, making feedback and alignment faster.
Use the same sketch to compare finish palettes, daylight, and landscaping.
Accelerate your creative process whenever you have a design concept that is ready for realistic material and lighting exploration.
Turn house elevations, rear-extension sketches, and exterior perspectives into photorealistic imagery for design reviews.
Visualize living rooms, kitchens, bedrooms, hospitality spaces, and retail concepts from hand-drawn or digital drawings.
Transform rough design ideas into polished presentation references before investing in detailed technical documentation.
Upload hand-drawn or digital perspectives and elevations of rooms, facades, or extensions in JPG, PNG, or WebP. Export PDF or CAD drawings to an image first.
Yes. New accounts receive limited trial credits after registration, with no credit card required. Check the credit cost on Generate before running a render.
Your sketch guides the viewpoint, proportions, and openings, but details can change. If a window or roofline moves, return to the original drawing, clarify those edges, and name the features to keep in Details before trying again.
Move Material Blend toward Original to reduce material reinterpretation. For lighting, adjust Environment Preset and simplify the instructions in Details. Keep any reference image consistent with that direction. Material Blend controls finishes, not geometry.
Yes. Add an optional Style reference to guide the palette, materials, and mood. Choose a reference that matches the finishes and lighting you describe in Details.
Use AI Plan Visualizer for top-down floor plans, master plans, and site layouts. Sketch to Render is intended for perspective sketches and elevations. Open AI Plan Visualizer
For a 3D model viewport or clay-render image, start with AI Architectural Rendering. For line drawings and perspective sketches, start here. Open AI Architectural Rendering
No. Use the render to compare finishes and discuss the design. Dimensions and construction details belong in measured technical drawings.
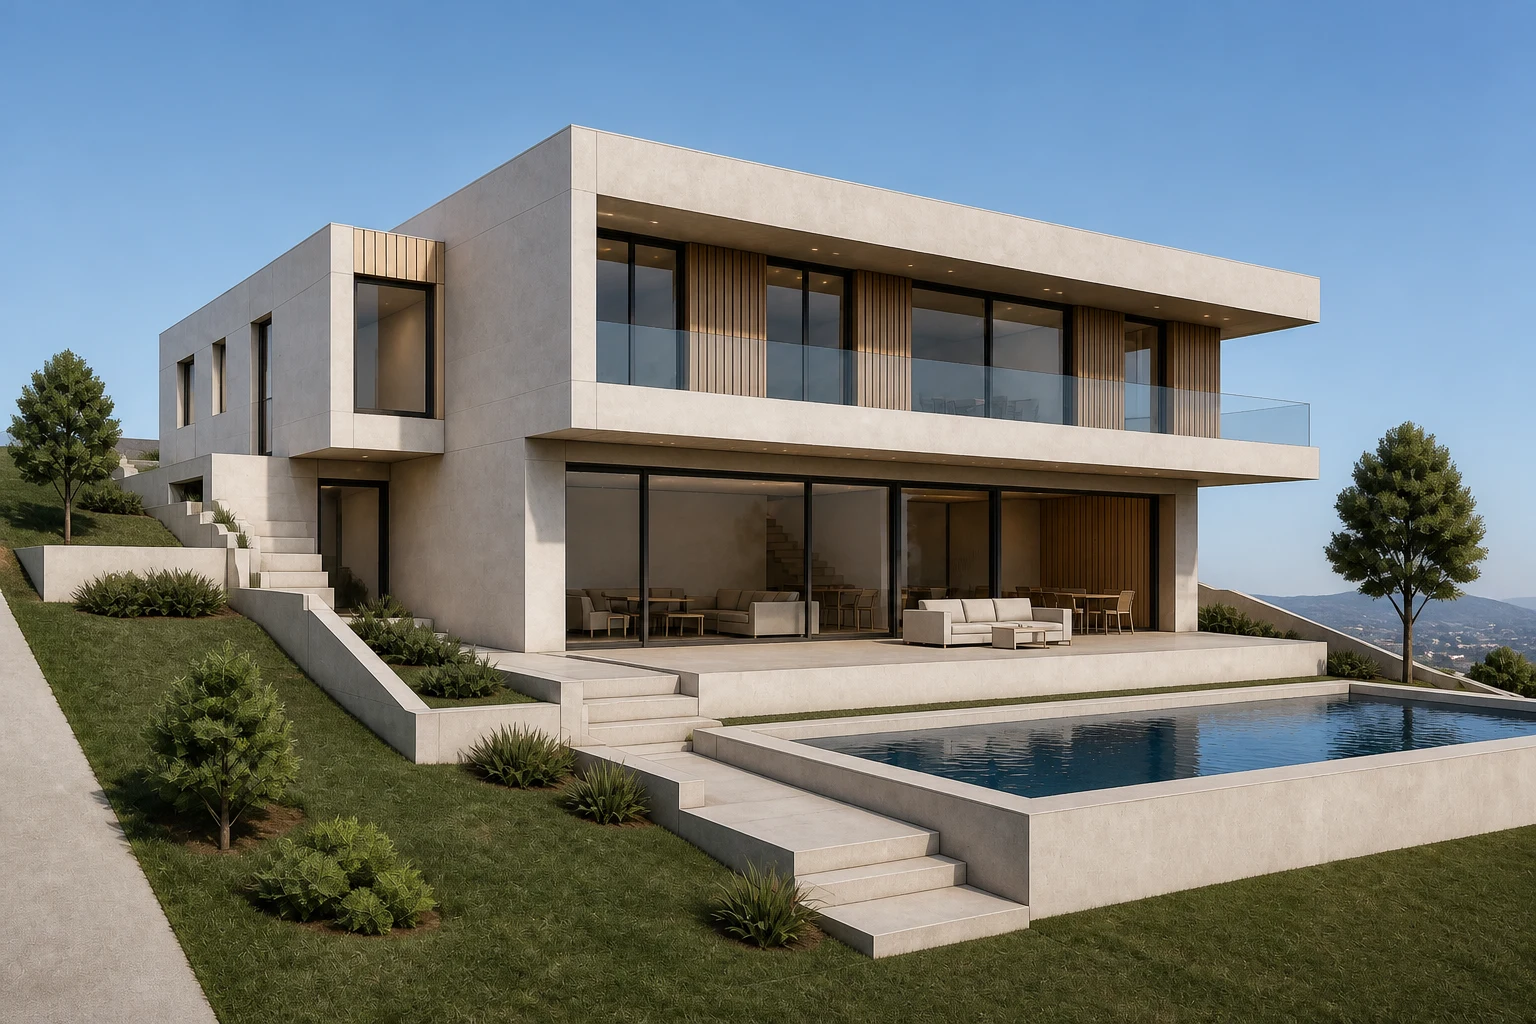
Create realistic interior and exterior renders from sketches, model views, and concept images.
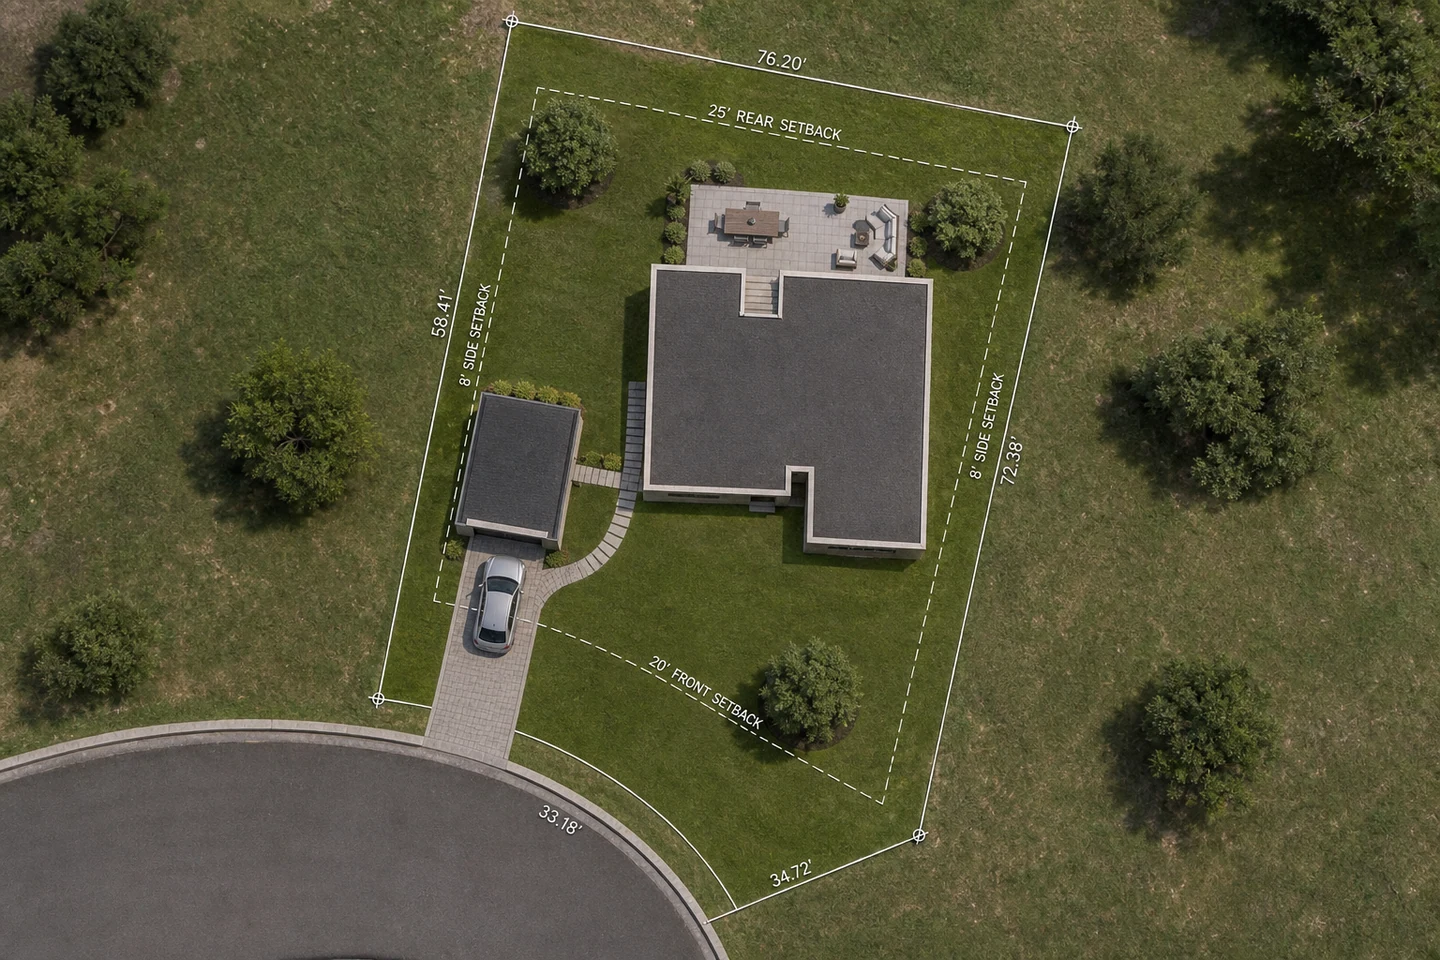
Visualize master plans, garden plans, and floor plans without redrawing their spatial logic.
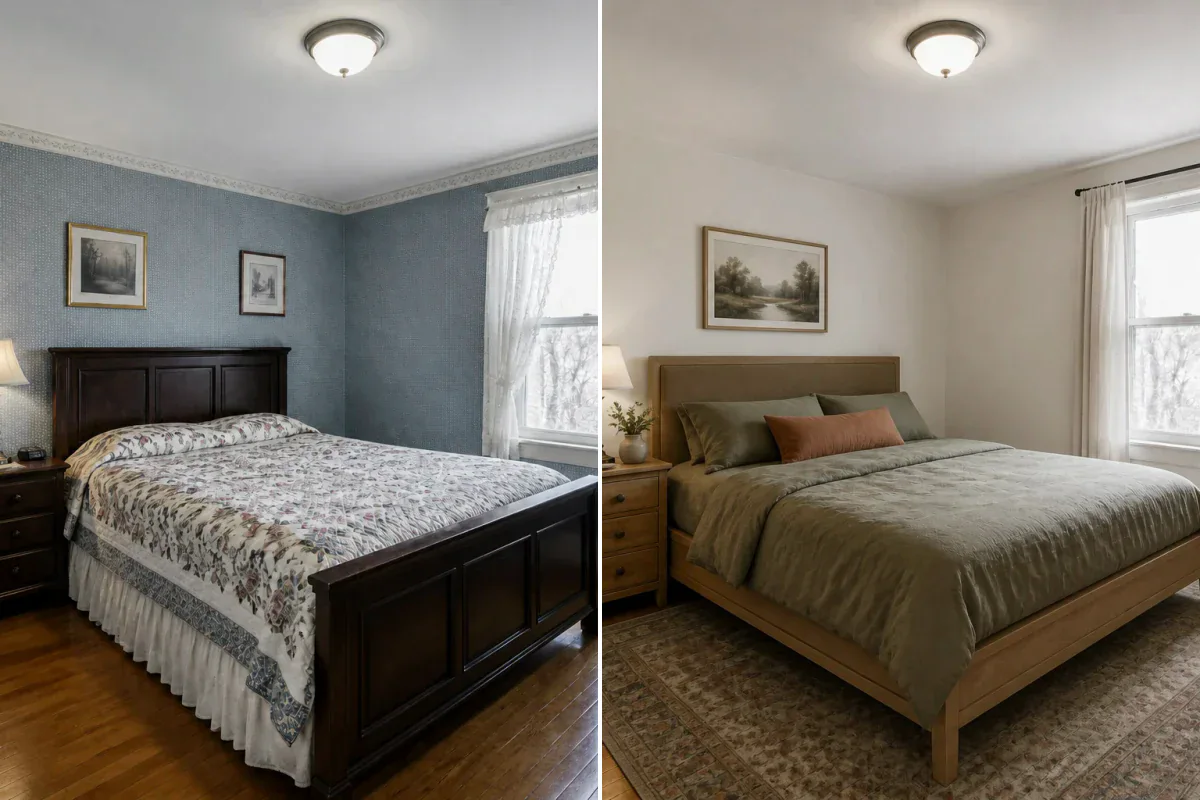
Redesign a furnished room while keeping its layout recognizable.
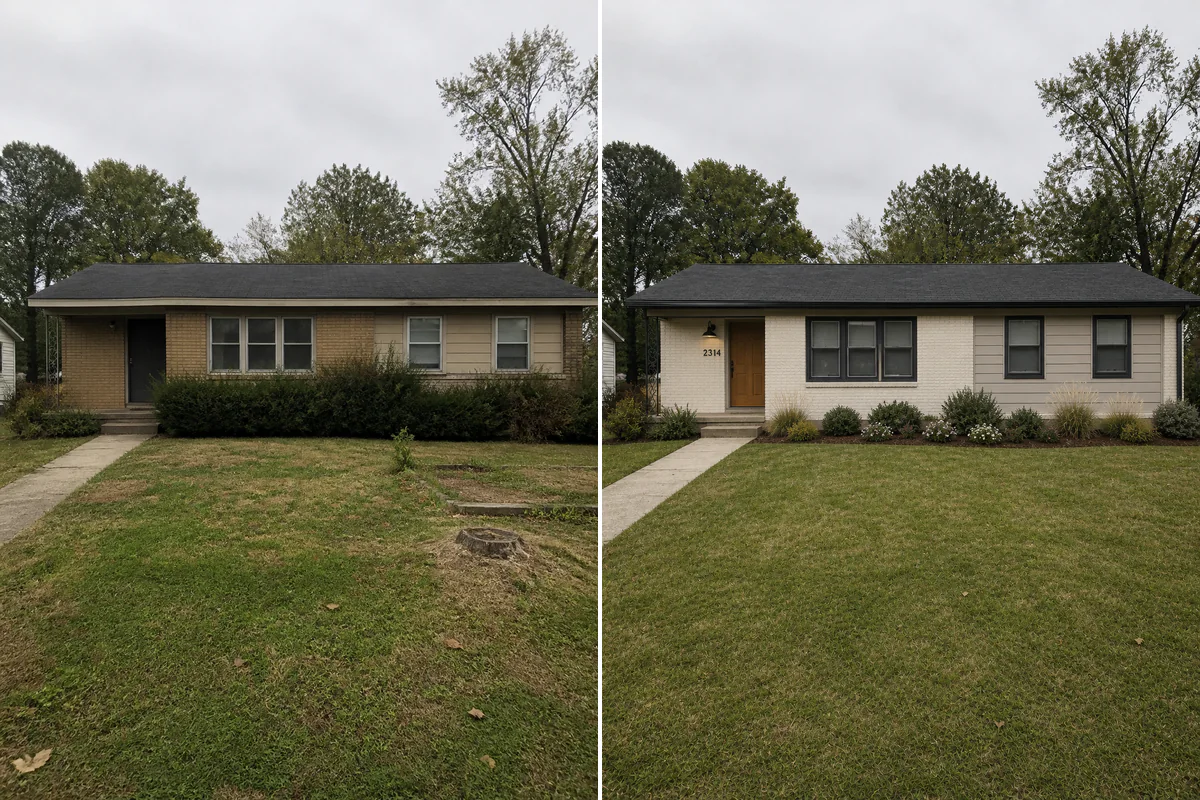
Change siding, roof, trim, windows, and doors.