Works with any visual draft
Start from hand sketches, digital drawings, SketchUp viewports, BIM screenshots, clay renders, or concept mockups in any standard image format.
Turn sketches, raw 3D viewports, CAD screenshots, and clay renders into presentation-ready visuals in seconds. Explore realistic materials, daylight, and atmospheric context while keeping your original geometry locked.
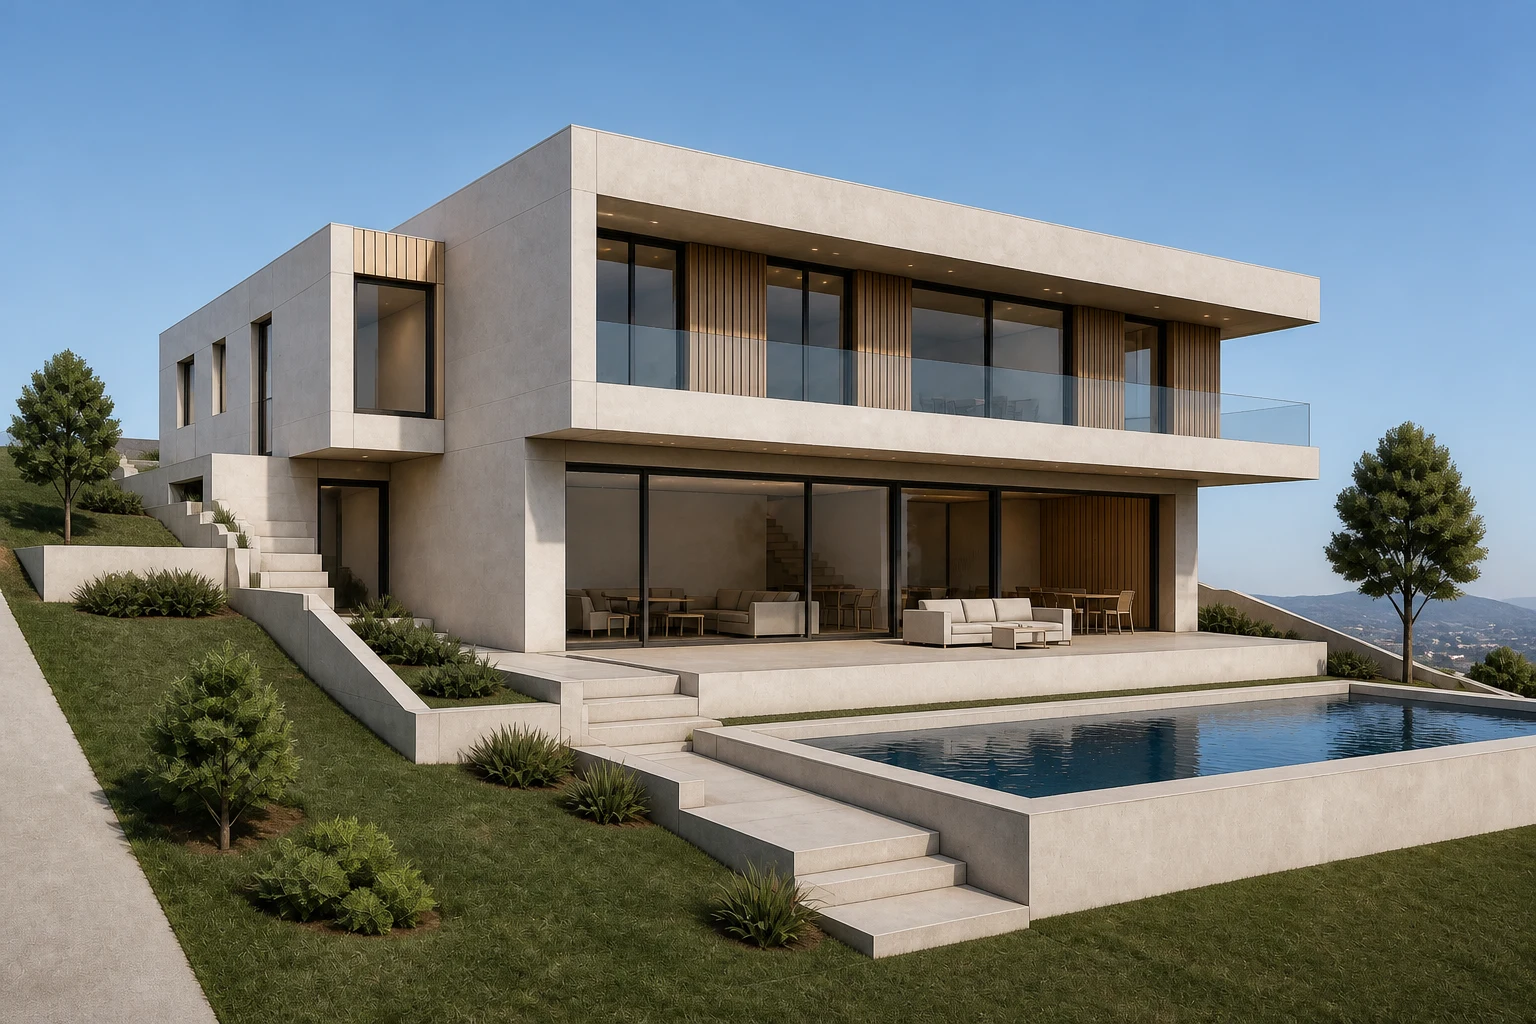
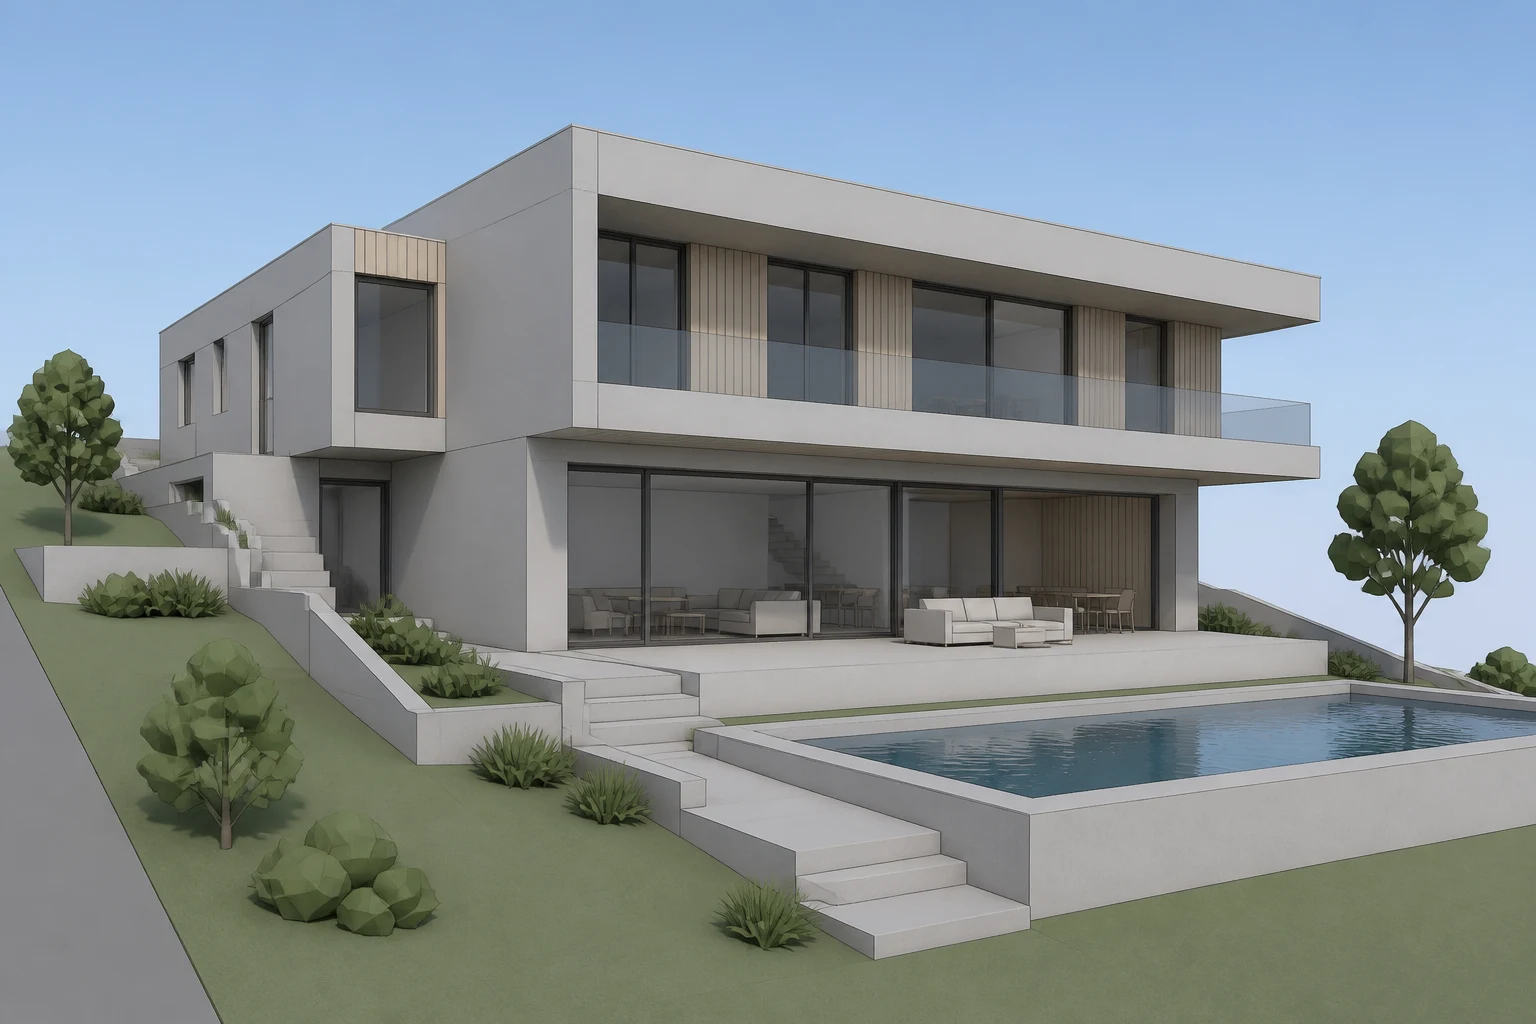
Upload your clearest visual draft and test materials, lighting, and environmental context—no render engines or complex setup required.
Start from hand sketches, digital drawings, SketchUp viewports, BIM screenshots, clay renders, or concept mockups in any standard image format.
Locks your camera angle, room boundaries, window openings, and spatial proportions while generating realistic textures and lighting.
Easily customize facade finishes, interior textures, time of day, weather, and landscaping context for client reviews and pitch decks.
From untextured massing models and white clay viewports to photorealistic renders with realistic lighting, materials, and environment.
A raw 3D massing model gains realistic stone, glass, landscaping, and water reflections without losing the original building shape.
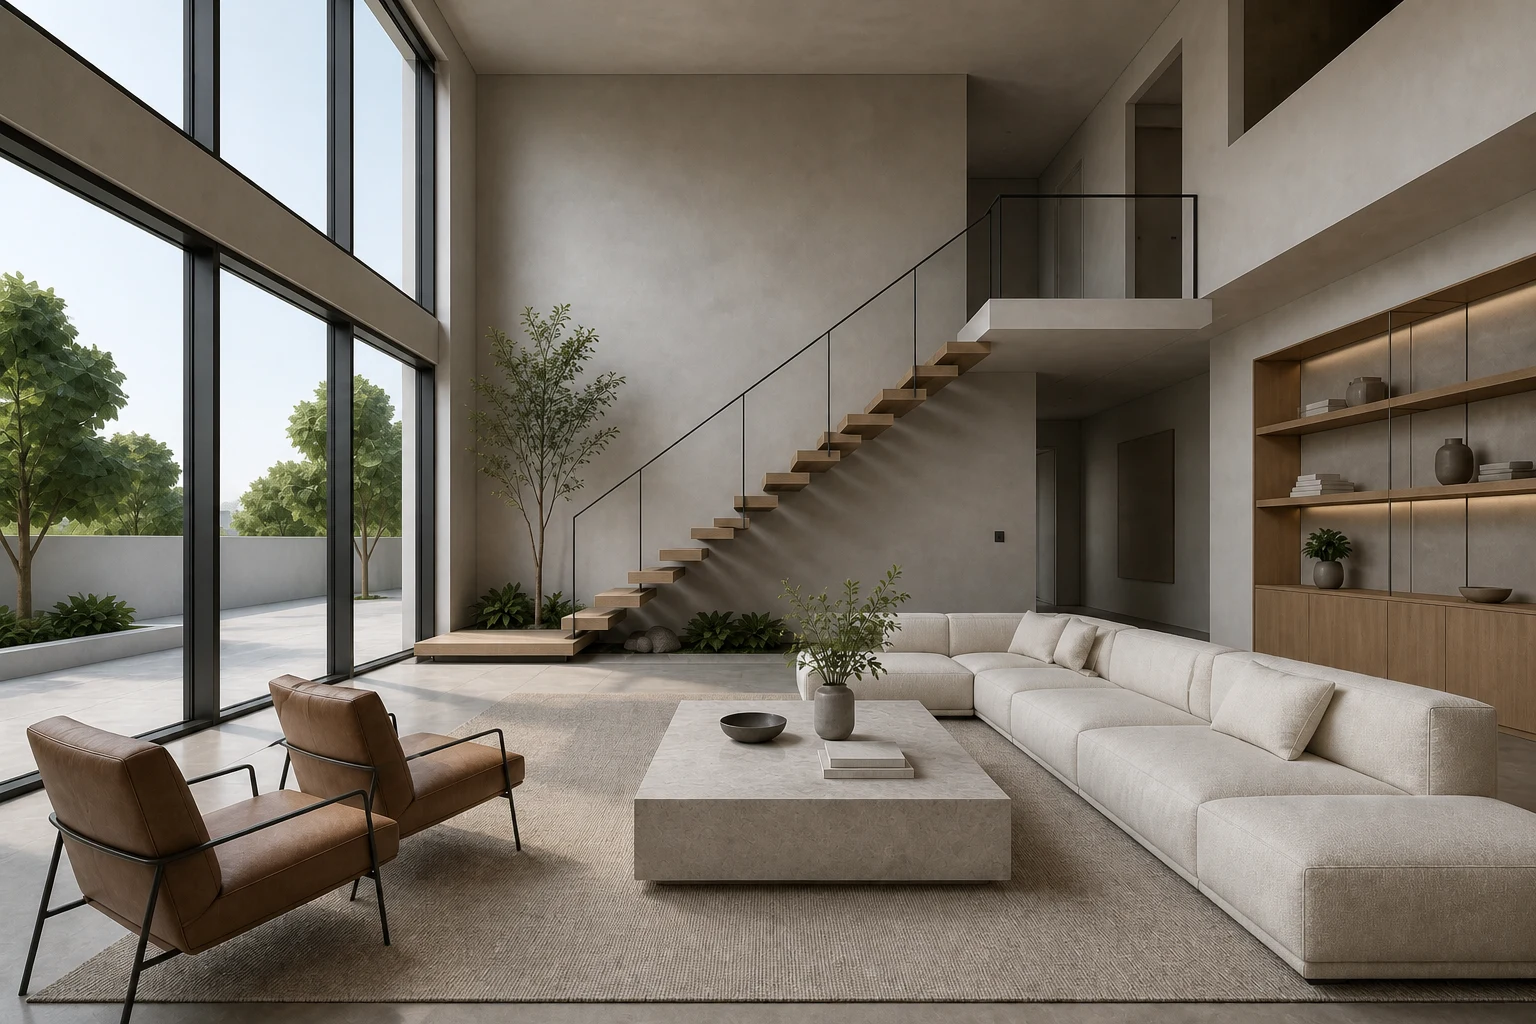
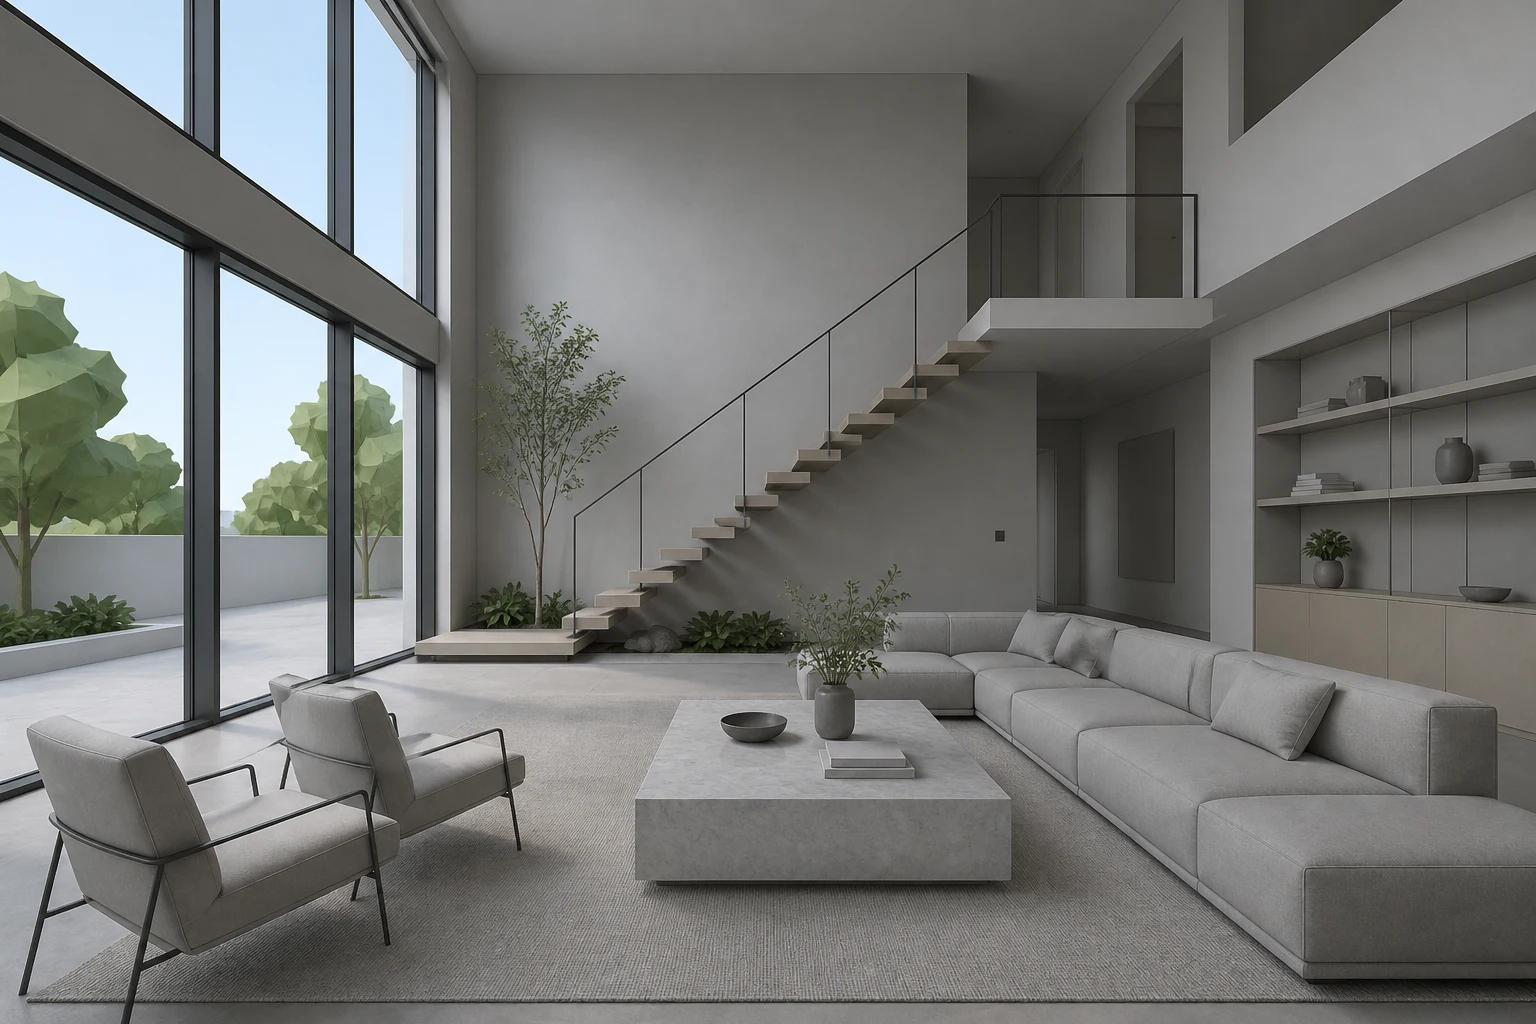
An untextured interior viewport transforms into a warm, fully furnished living space with natural lighting and finished surfaces.
Explore photorealistic concepts in seconds before committing hours to detailed 3D asset placement and heavy render queues.
Work directly from lightweight viewport screenshots without transferring gigabyte-sized files or installing third-party render software.
Compare siding options, masonry, flooring, and daylighting schemes from the exact same camera angle in minutes.
Help clients visualize early spatial ideas immediately, creating compelling imagery for mood boards, design reviews, and proposal decks.
Accelerate your workflow whenever you have a design concept that needs photorealistic materials, lighting, and context.
Turn quick perspective sketches and massing studies into photorealistic concept directions before detailed drafting begins.
Give unrendered CAD models and shaded viewports realistic materials and atmospheric lighting without manual texture baking.
Render interior living spaces, building facades, outdoor landscapes, extensions, and commercial hospitality concepts.
Use a clear perspective with visible geometry. For 3D software screenshots, hide axes, guides, selection boxes, and UI panels before uploading.
Keep structure strictly locked when your geometry is finalized, or give the AI more creative freedom when exploring rough early concepts.
Upload an optional aesthetic reference image and specify desired finishes, daylighting conditions, or landscape elements in your prompt.
You upload an architectural draft—such as a 3D model screenshot, BIM viewport, sketch, or clay render—and the AI applies realistic materials, natural lighting, and atmospheric context while respecting your original camera angle and geometry.
You can upload any clear JPG, PNG, or WebP screenshot of a 3D model, shaded viewport, architectural sketch, CAD view, or concept image. Clean perspective views with clear geometry produce the sharpest results.
No. You don't need textures, UV maps, or lights set up. A simple white massing model, shaded CAD viewport, or rough concept sketch is all you need to start generating realistic visuals.
AI Architectural Rendering is a comprehensive suite built for all architectural visual drafts, including 3D viewports, BIM models, and clay renders. Sketch to Render is dedicated specifically to hand-drawn and digital line sketches.
Yes. The AI is designed to maintain your camera angle, massing, wall boundaries, and openings while applying realistic finishes. As with any AI generative workflow, always verify critical dimensions against your technical drawings.
Yes. The workflow handles interior rooms, whole-house facades, outdoor landscaping, home additions, and commercial spaces with dedicated style and environment presets.
Yes. You can select finish styles, specify lighting and weather conditions (such as golden hour, overcast, or night), choose landscape settings, or upload your own style reference image.
No. AI outputs are concept visualizations intended for design reviews, mood boards, and client presentations. They are not measured construction drawings, engineering plans, or permit sets.
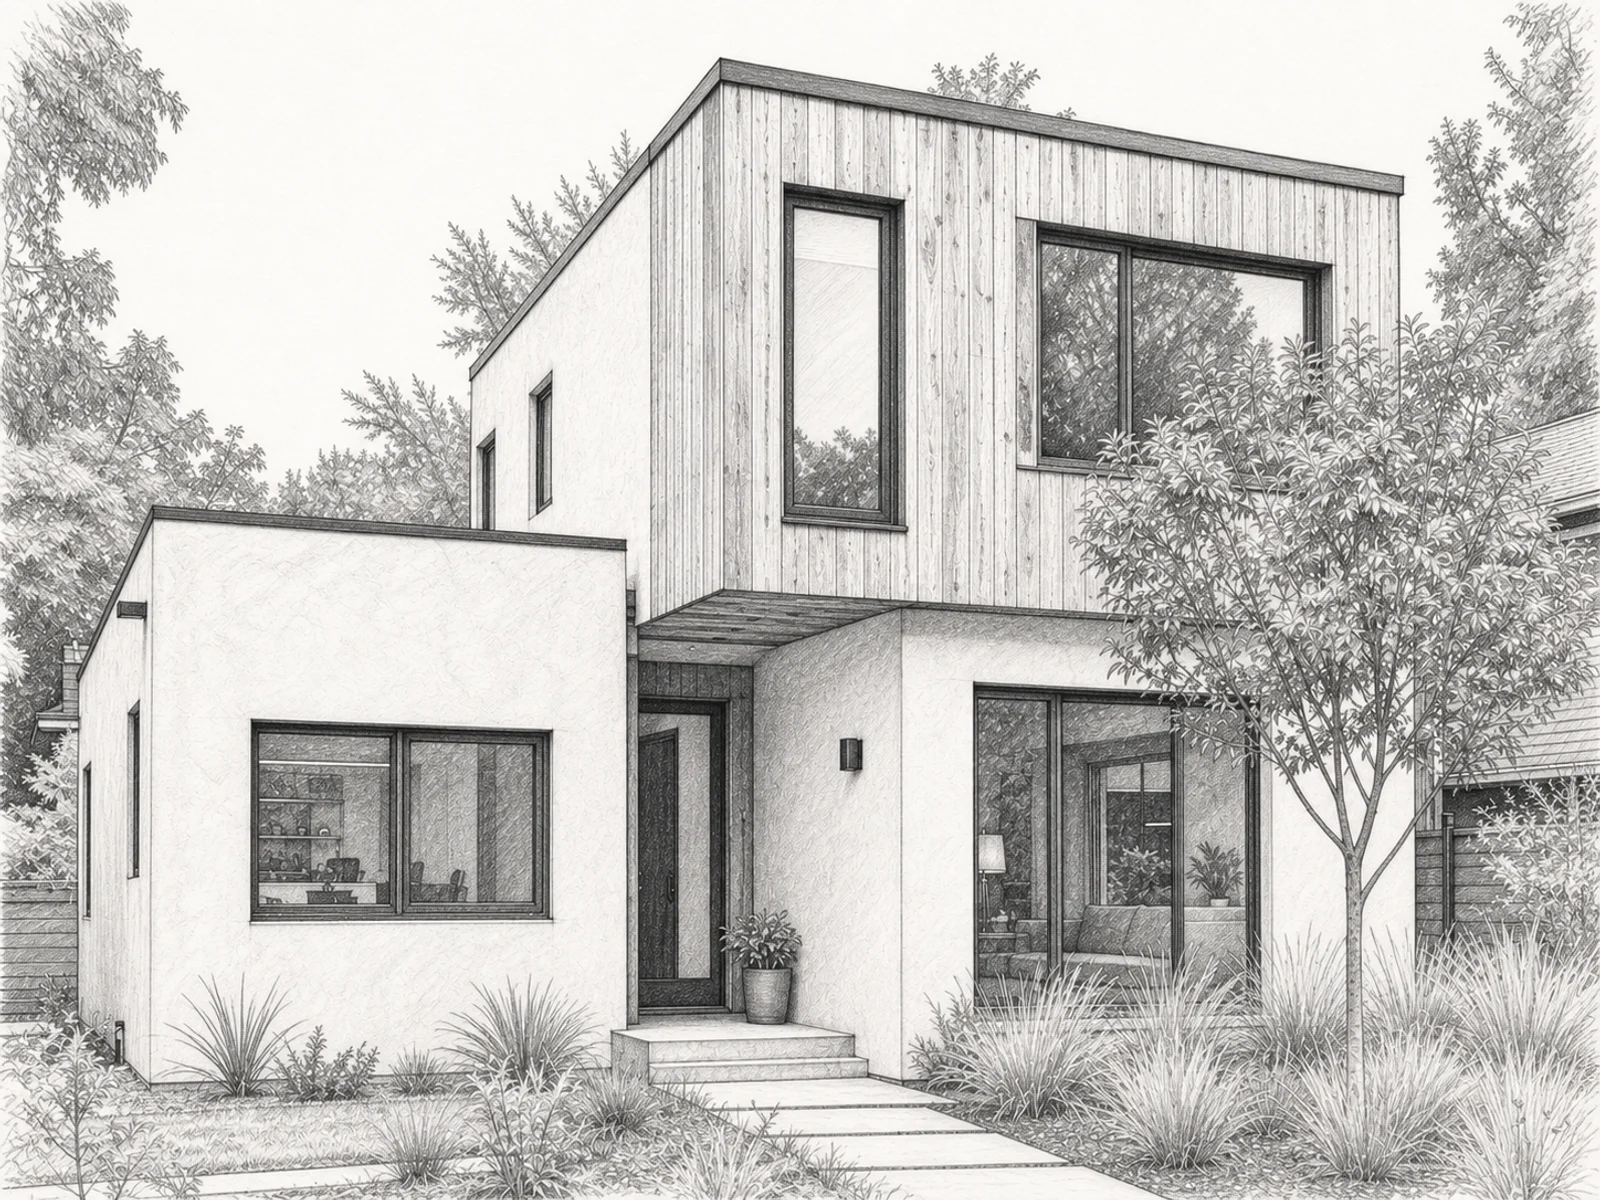
Turn an architectural sketch into a realistic interior or exterior render.
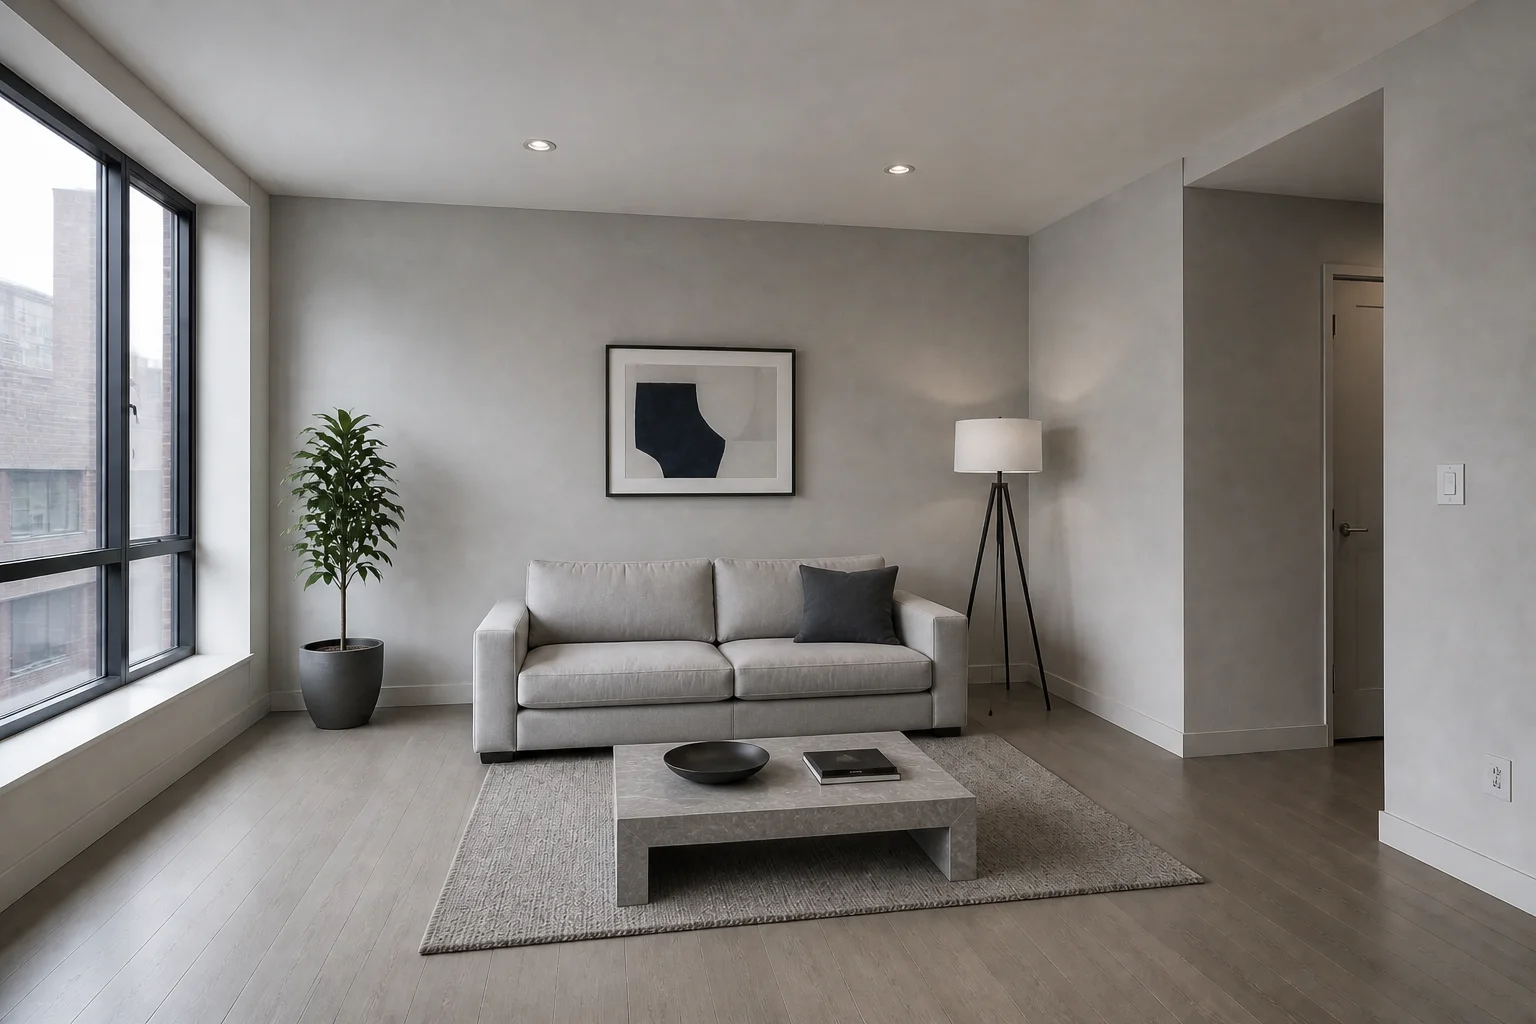
Apply the look of any reference image while preserving your source composition.
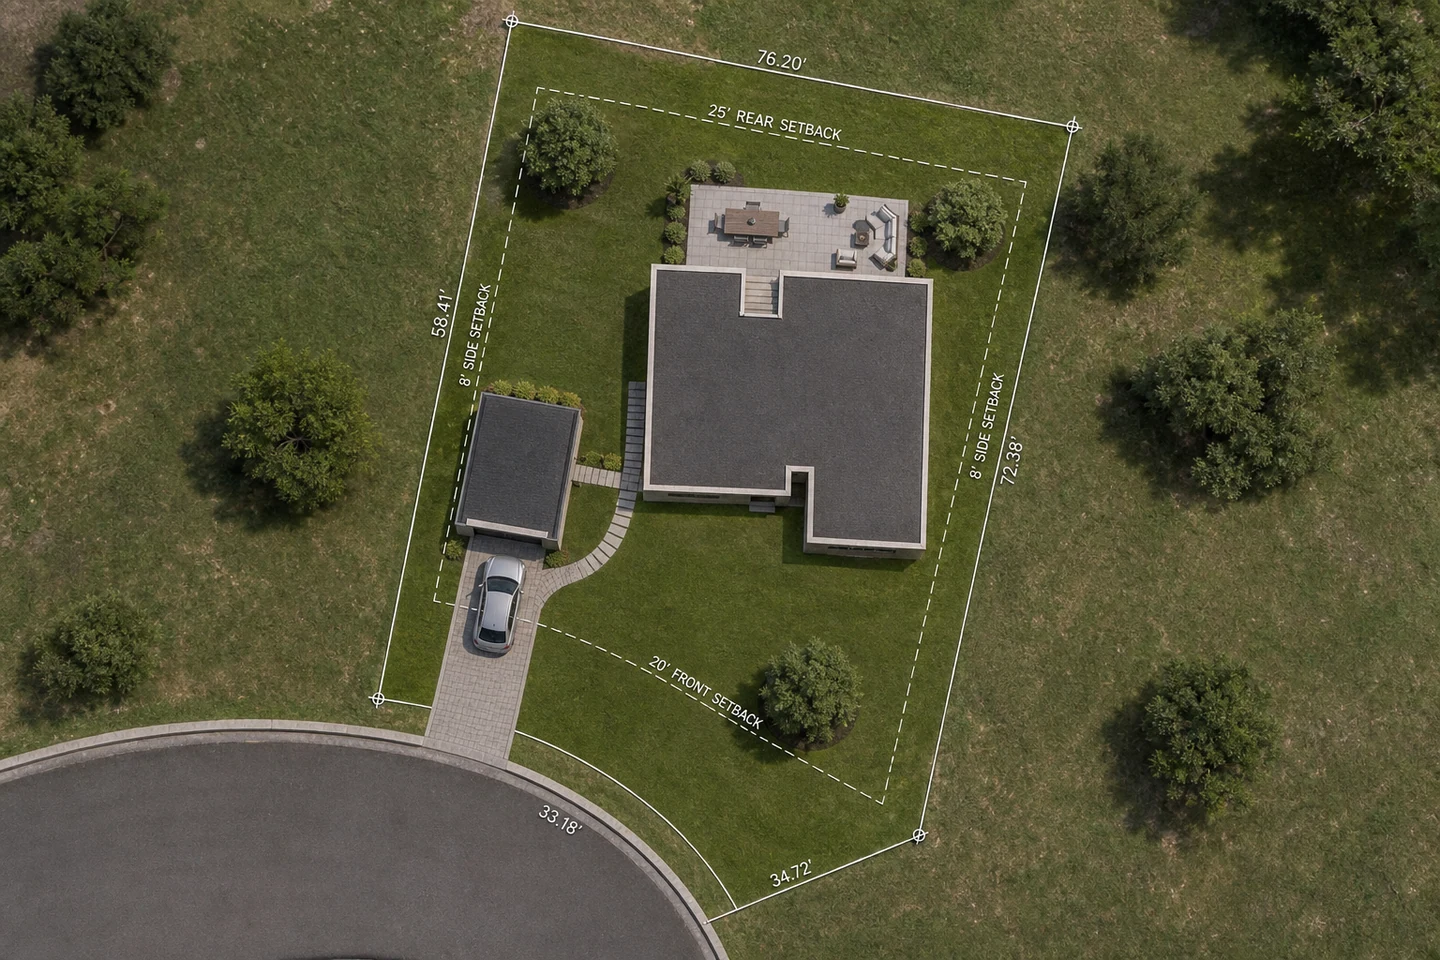
Visualize master plans, garden plans, and floor plans without redrawing their spatial logic.
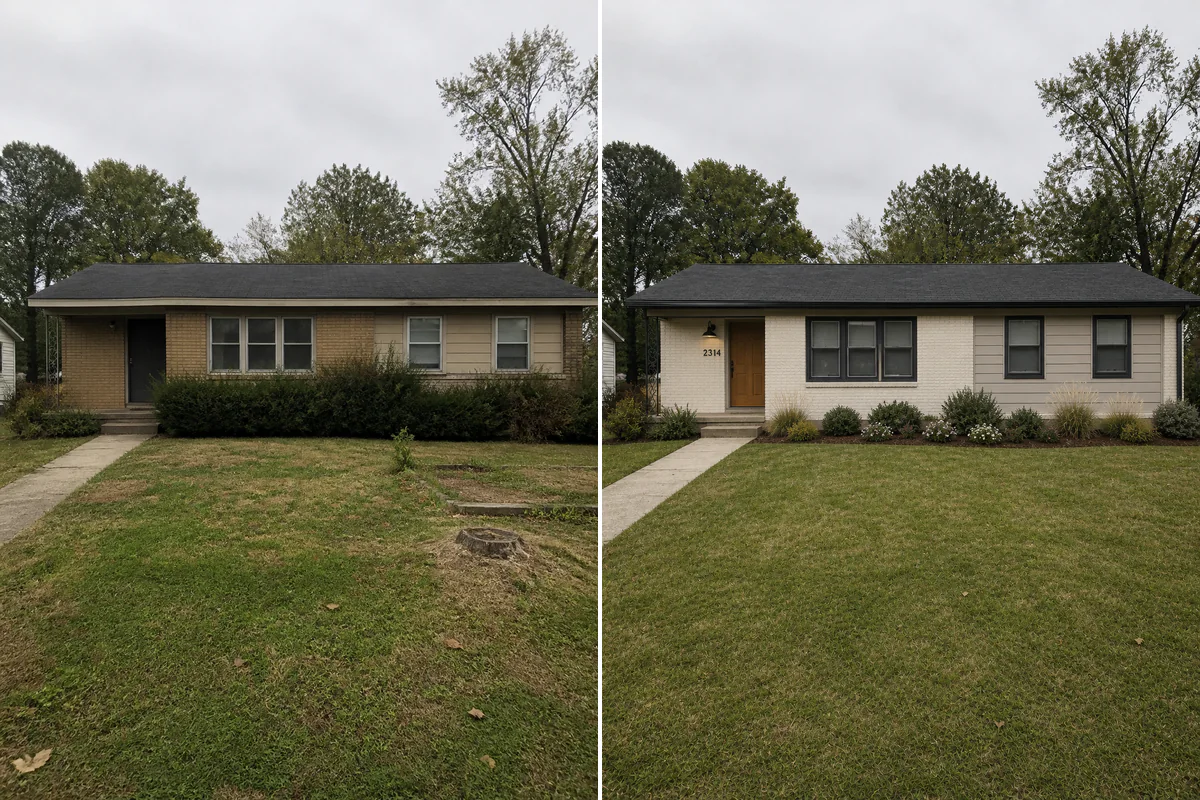
Change siding, roof, trim, windows, and doors.